In this guide, I'll show you how to install Ubuntu on WSL, the Windows Linux Subsystem.
This is the best option if you seek a way to install Ubuntu on your Windows machine without dual-boot.
Before installing WSL, first make sure that it is correctly enabled in your Windows machine.
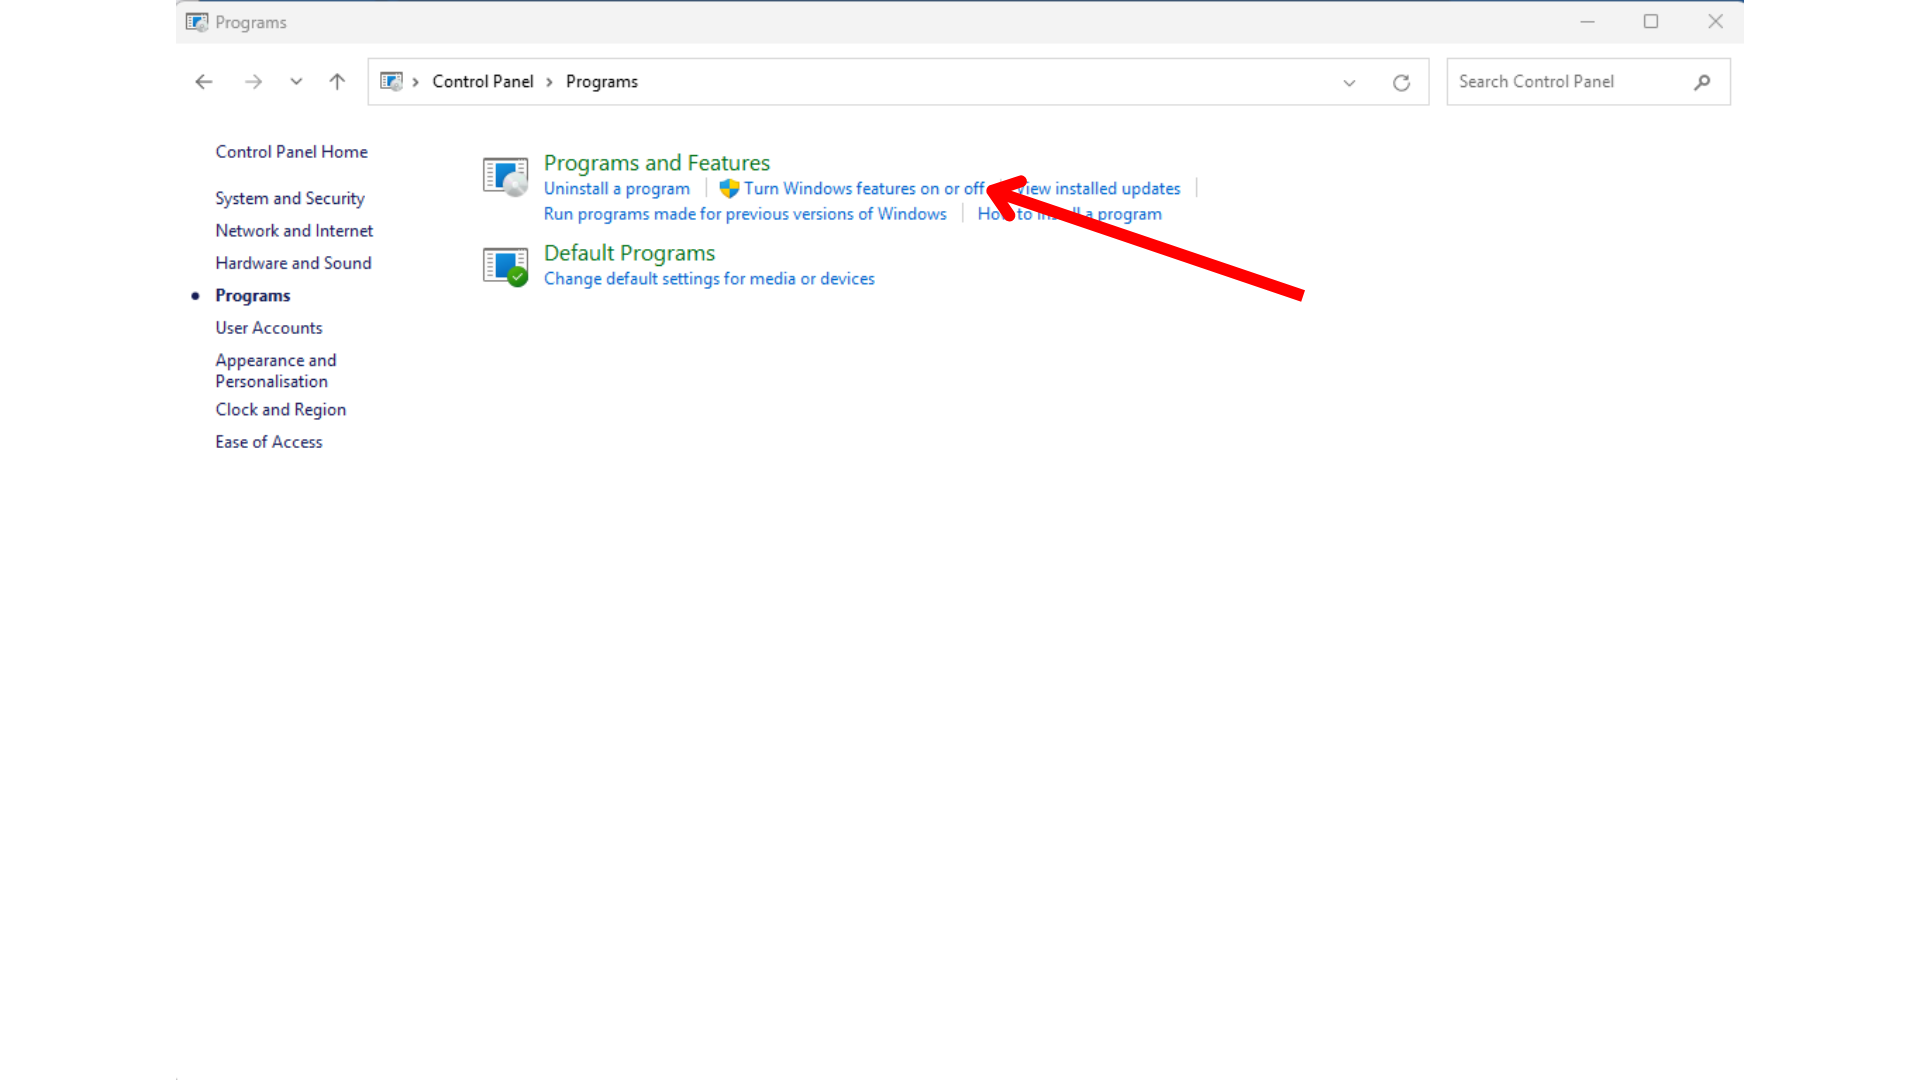
To do so, open the "Control Panel" and click on "Programs"
Then click on "Turn Windows features on or off"
And make sure that the "Windows Subsystem for Linux" is ticked
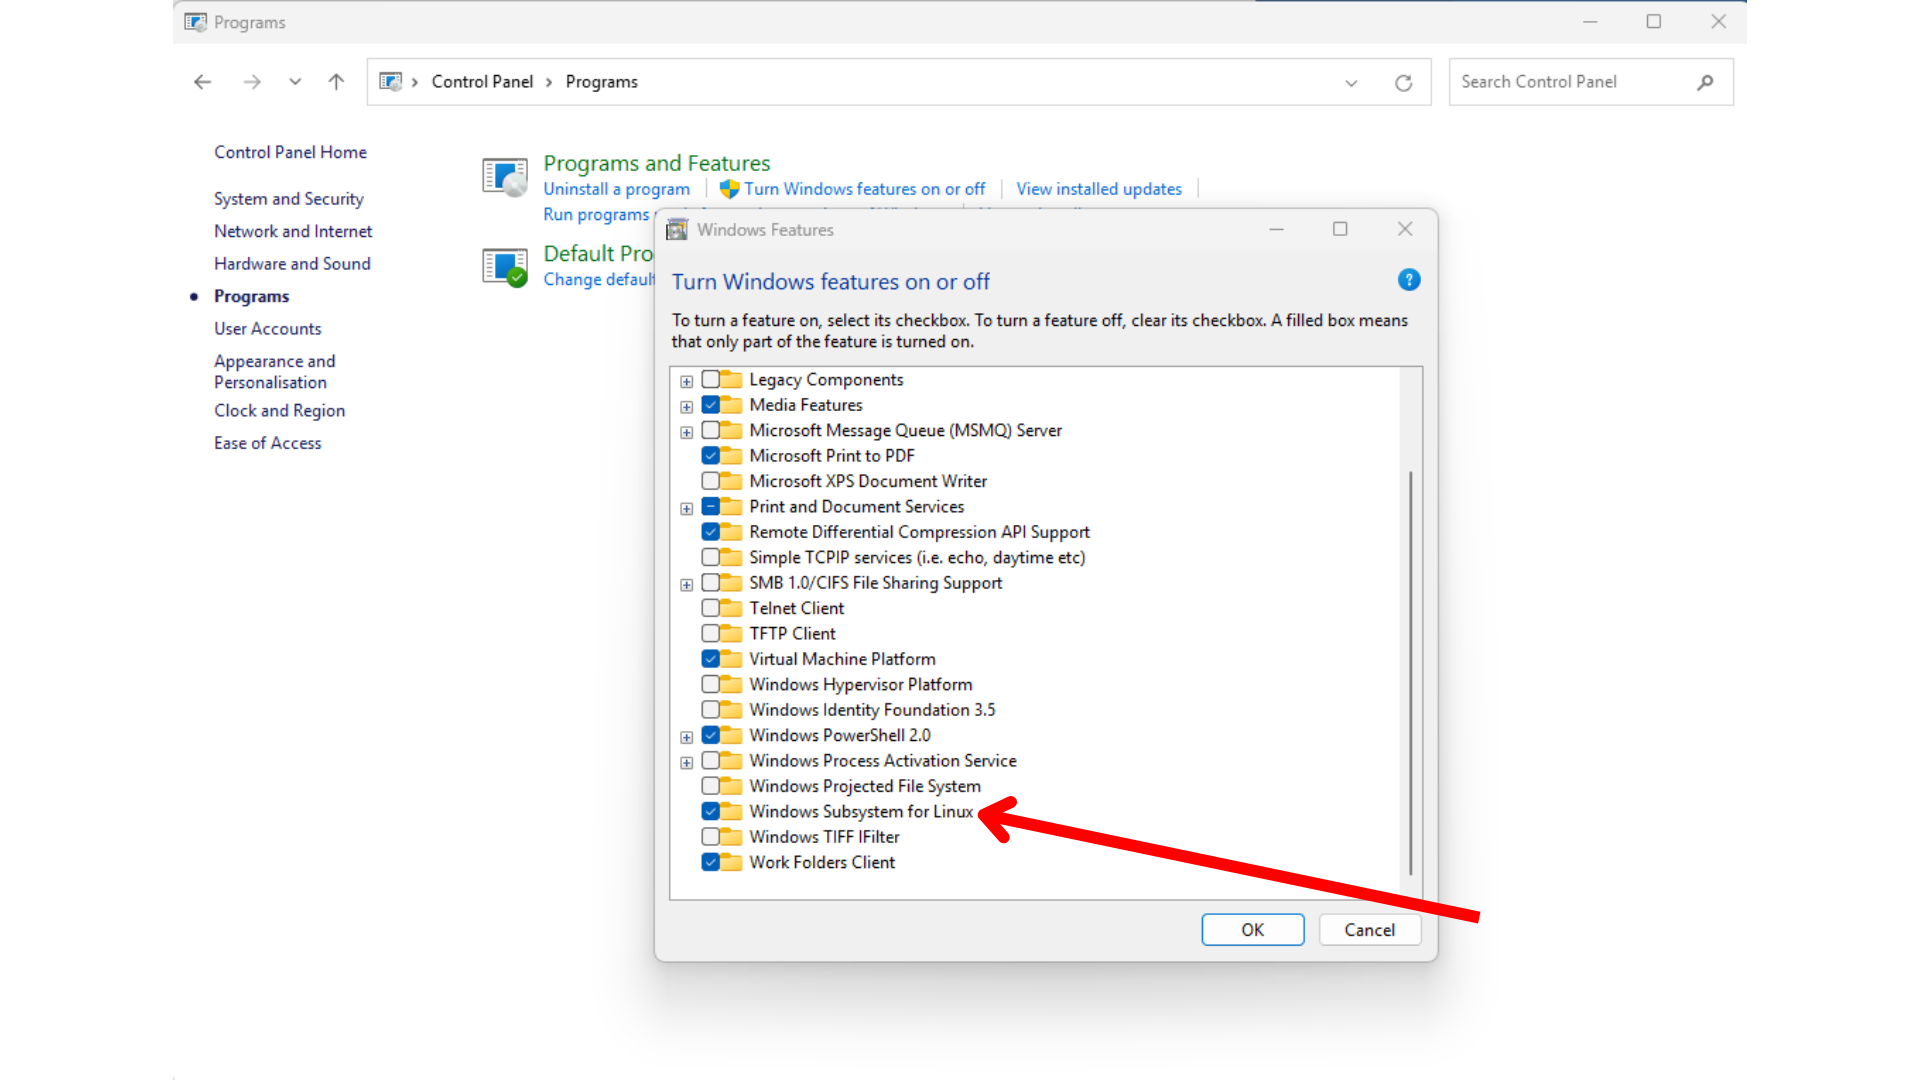
To apply the changes, you may need to restart your System.
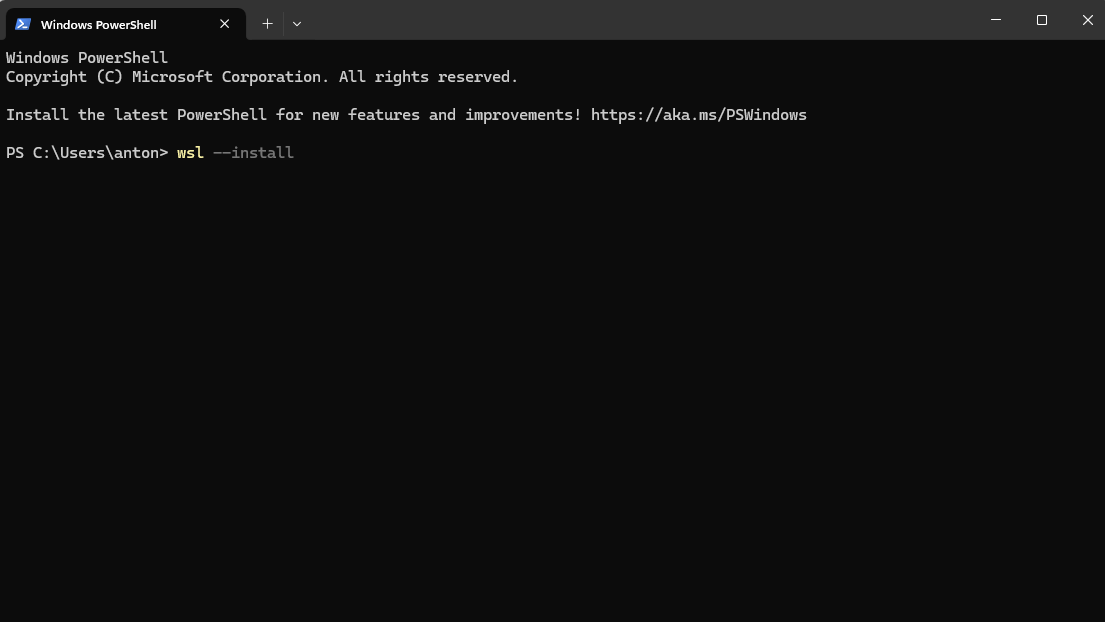
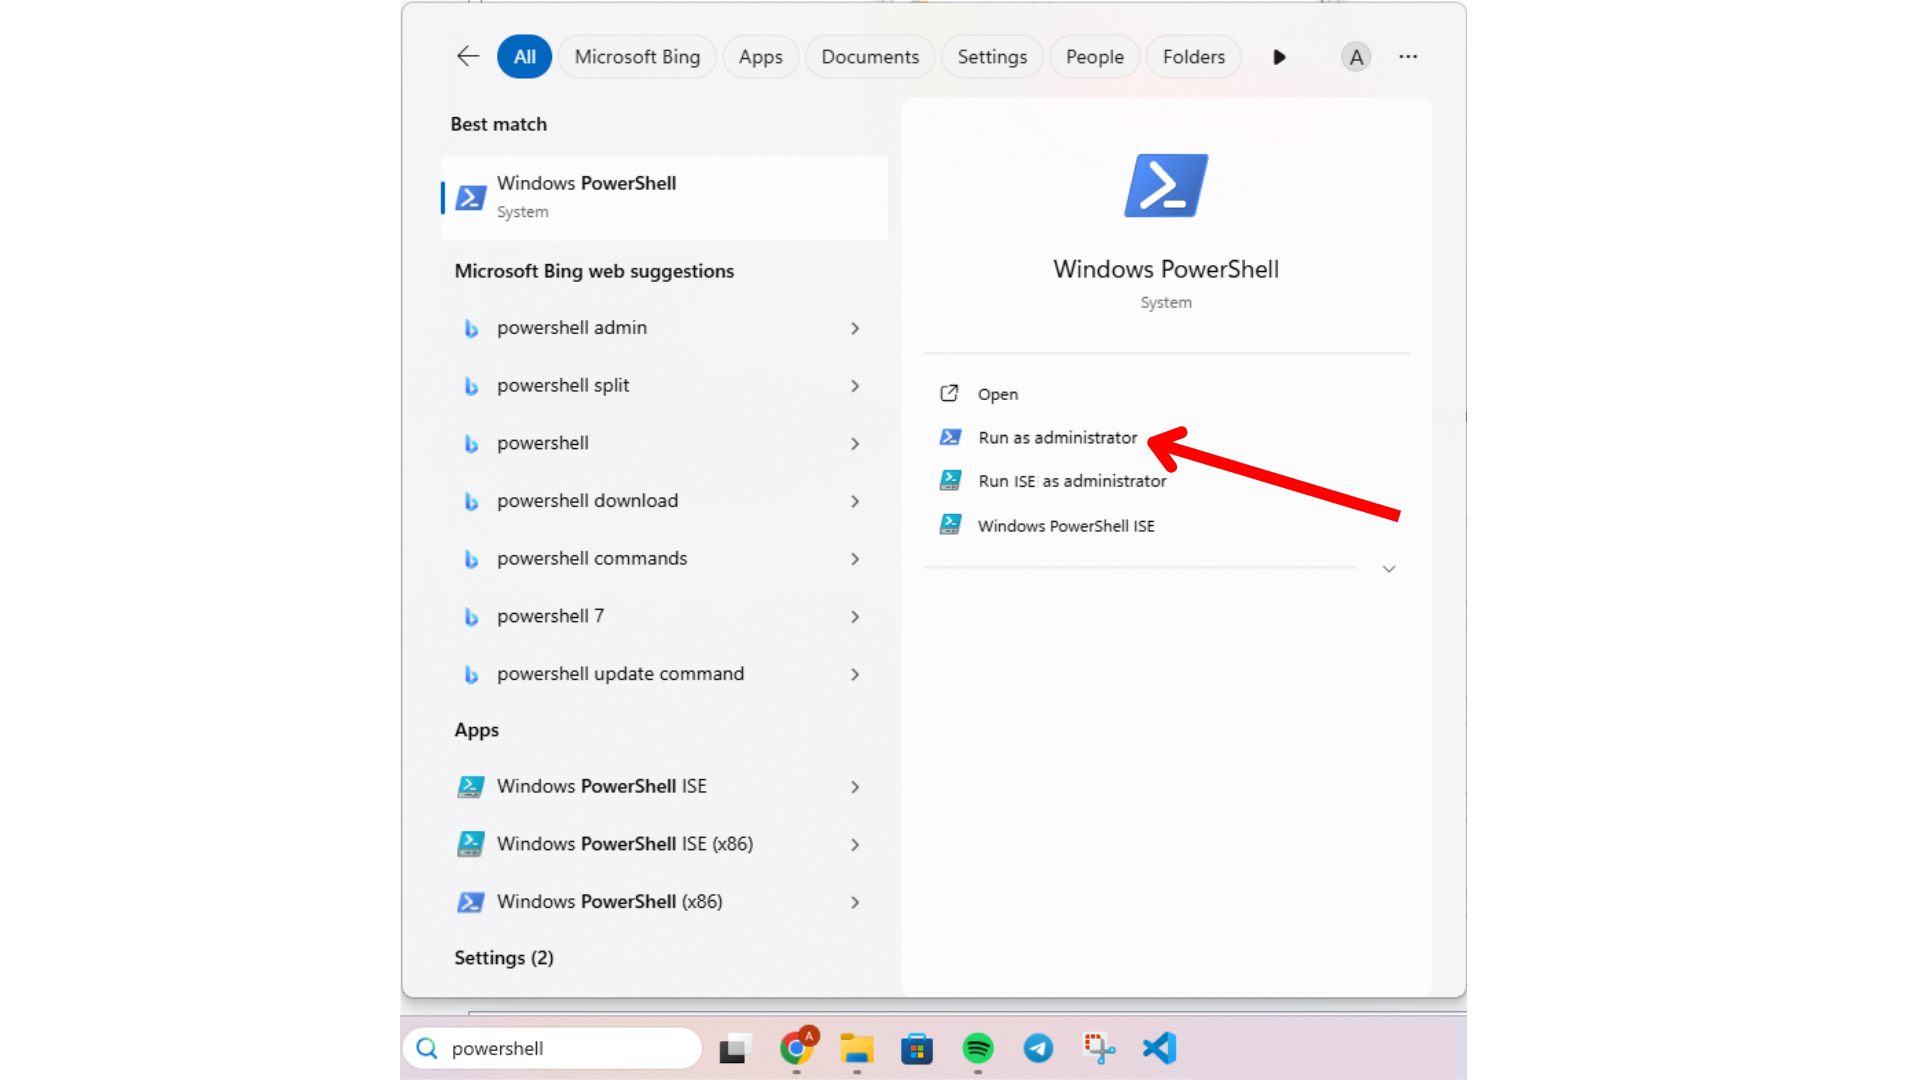
To install WSL on your Windows machine is pretty straightforward, and you just need to open a Windows PowerShell in administrator mode
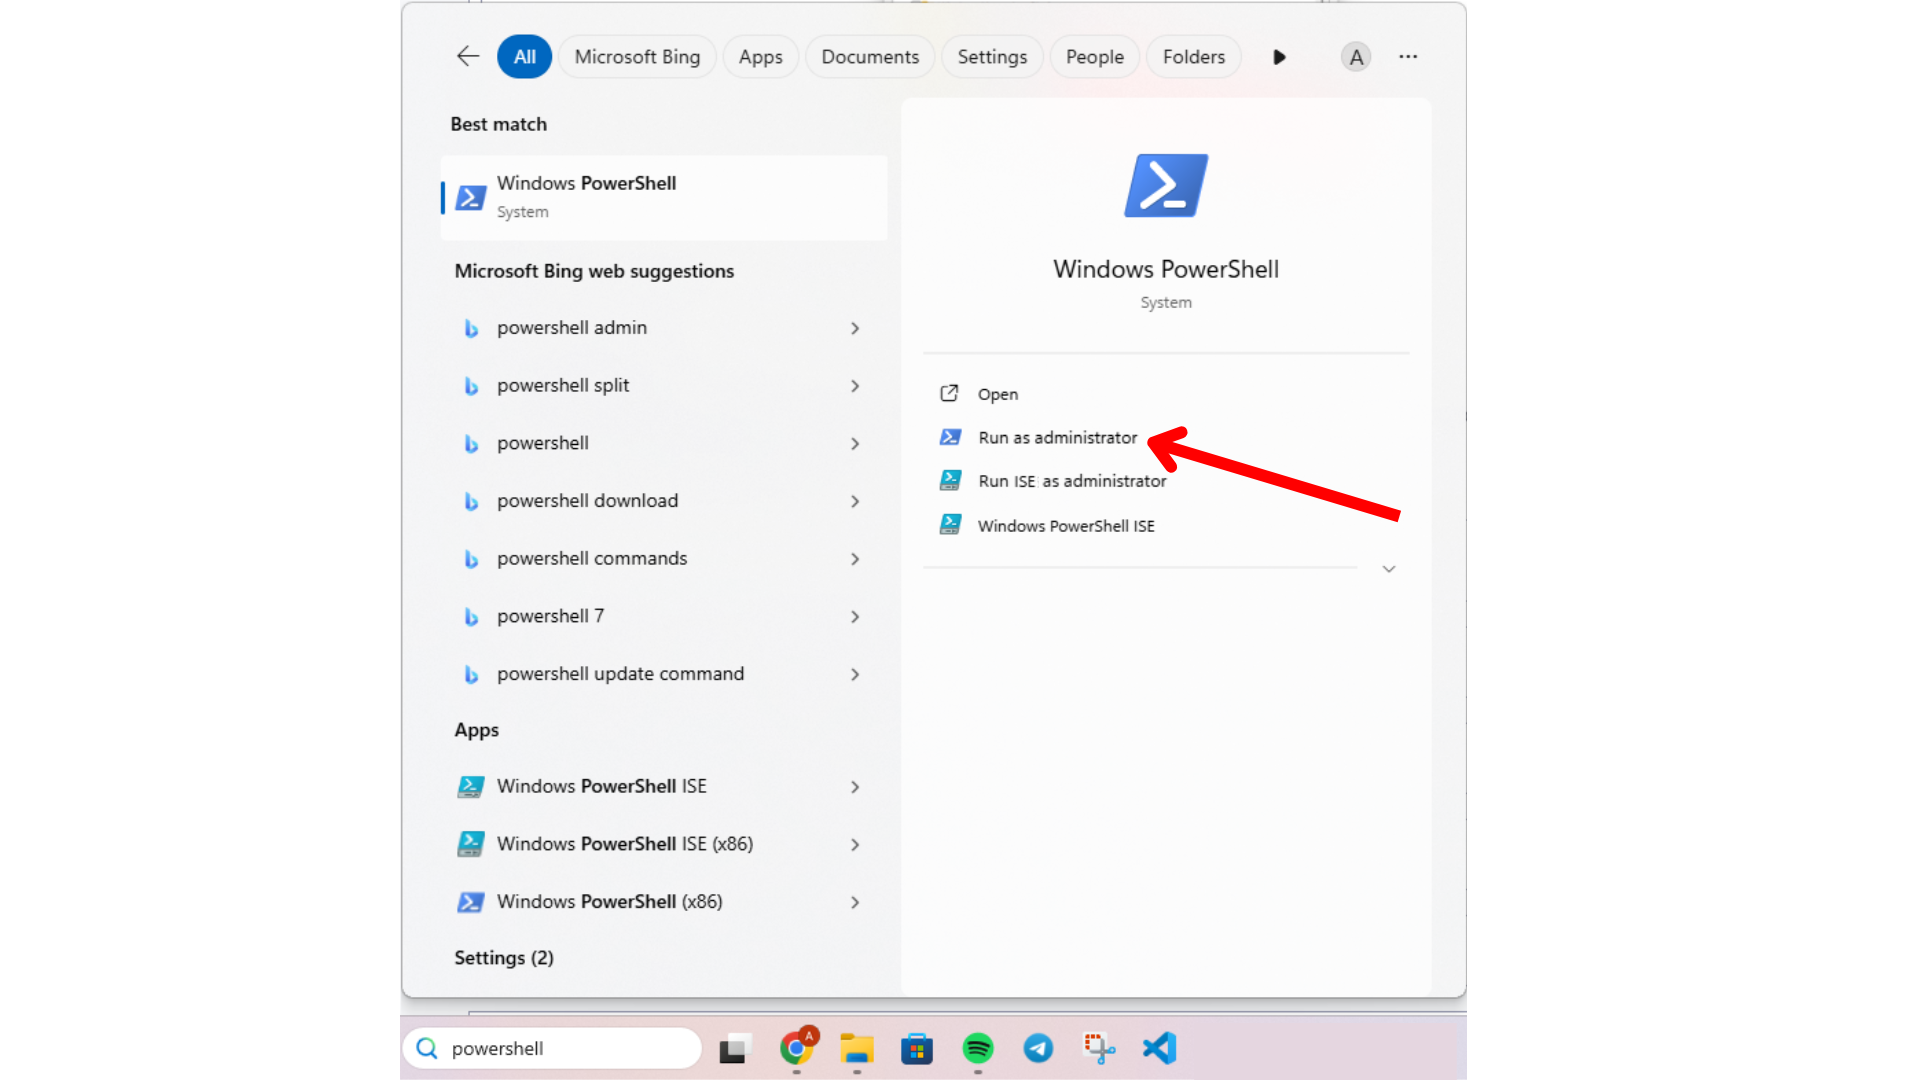
Once Windows PowerShell is running in administrator mode, you can type the command
wsl --install
To start the installation procedure
Once the installation is completed, you may need to restart your System.
Once WSL is installed on your system, you can install the Ubuntu distro you prefer among the available ones.
To check the list of distros available, you can open a Windows PowerShell in administrator mode
And type the command
wsl --list --online
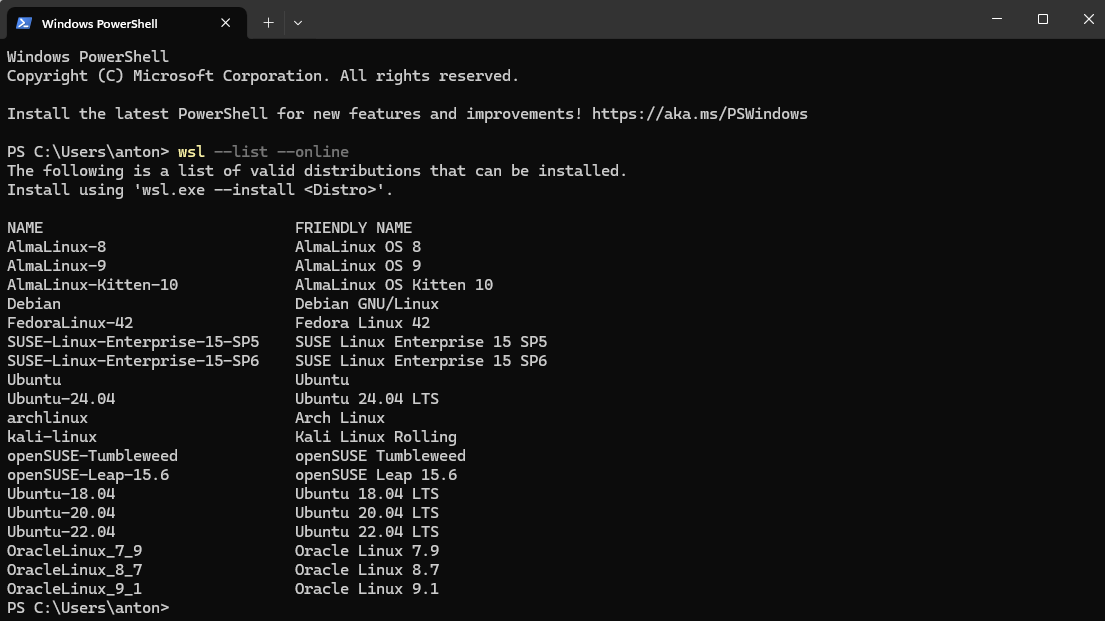
To follow this course, you can use either "Ubuntu-22.04" or "Ubuntu-24.04".
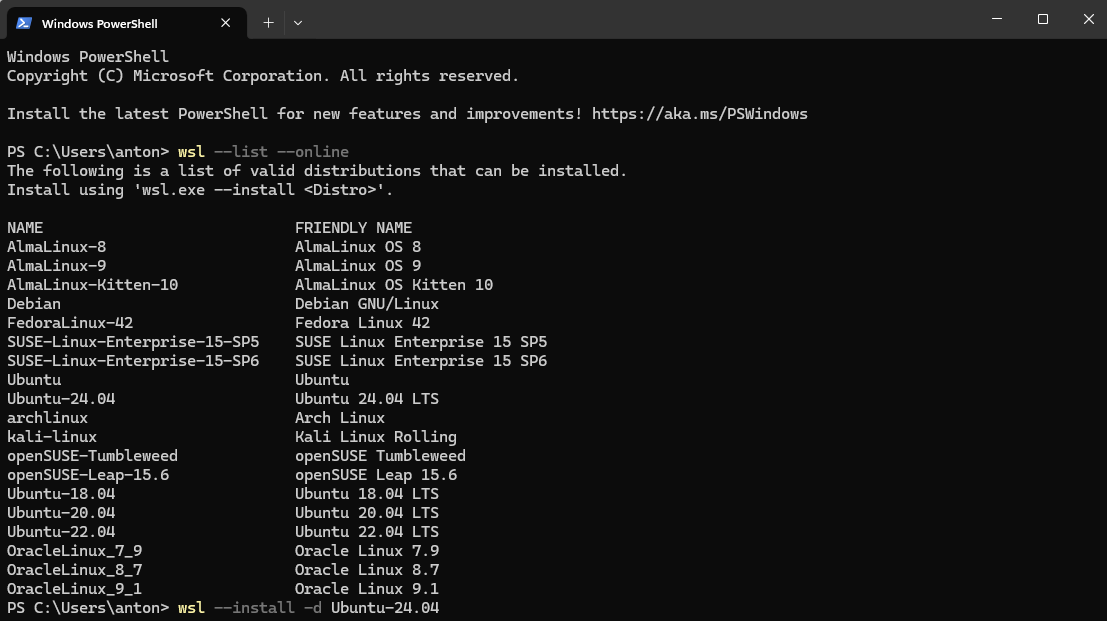
For example, to install the "Ubuntu-24.04" distro in your WSL, you can type the command
wsl --install -d Ubuntu-24.04
Once the installation is completed, you may need to restart your System.
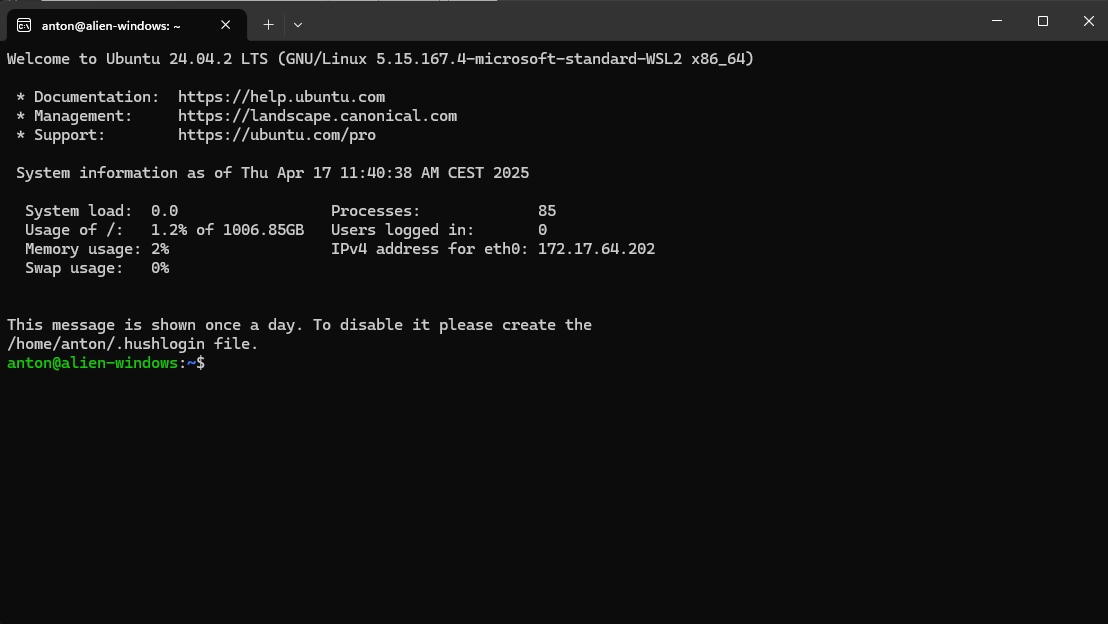
Once you have WSL installed with an Ubuntu distro, you can start using it by opening WSL
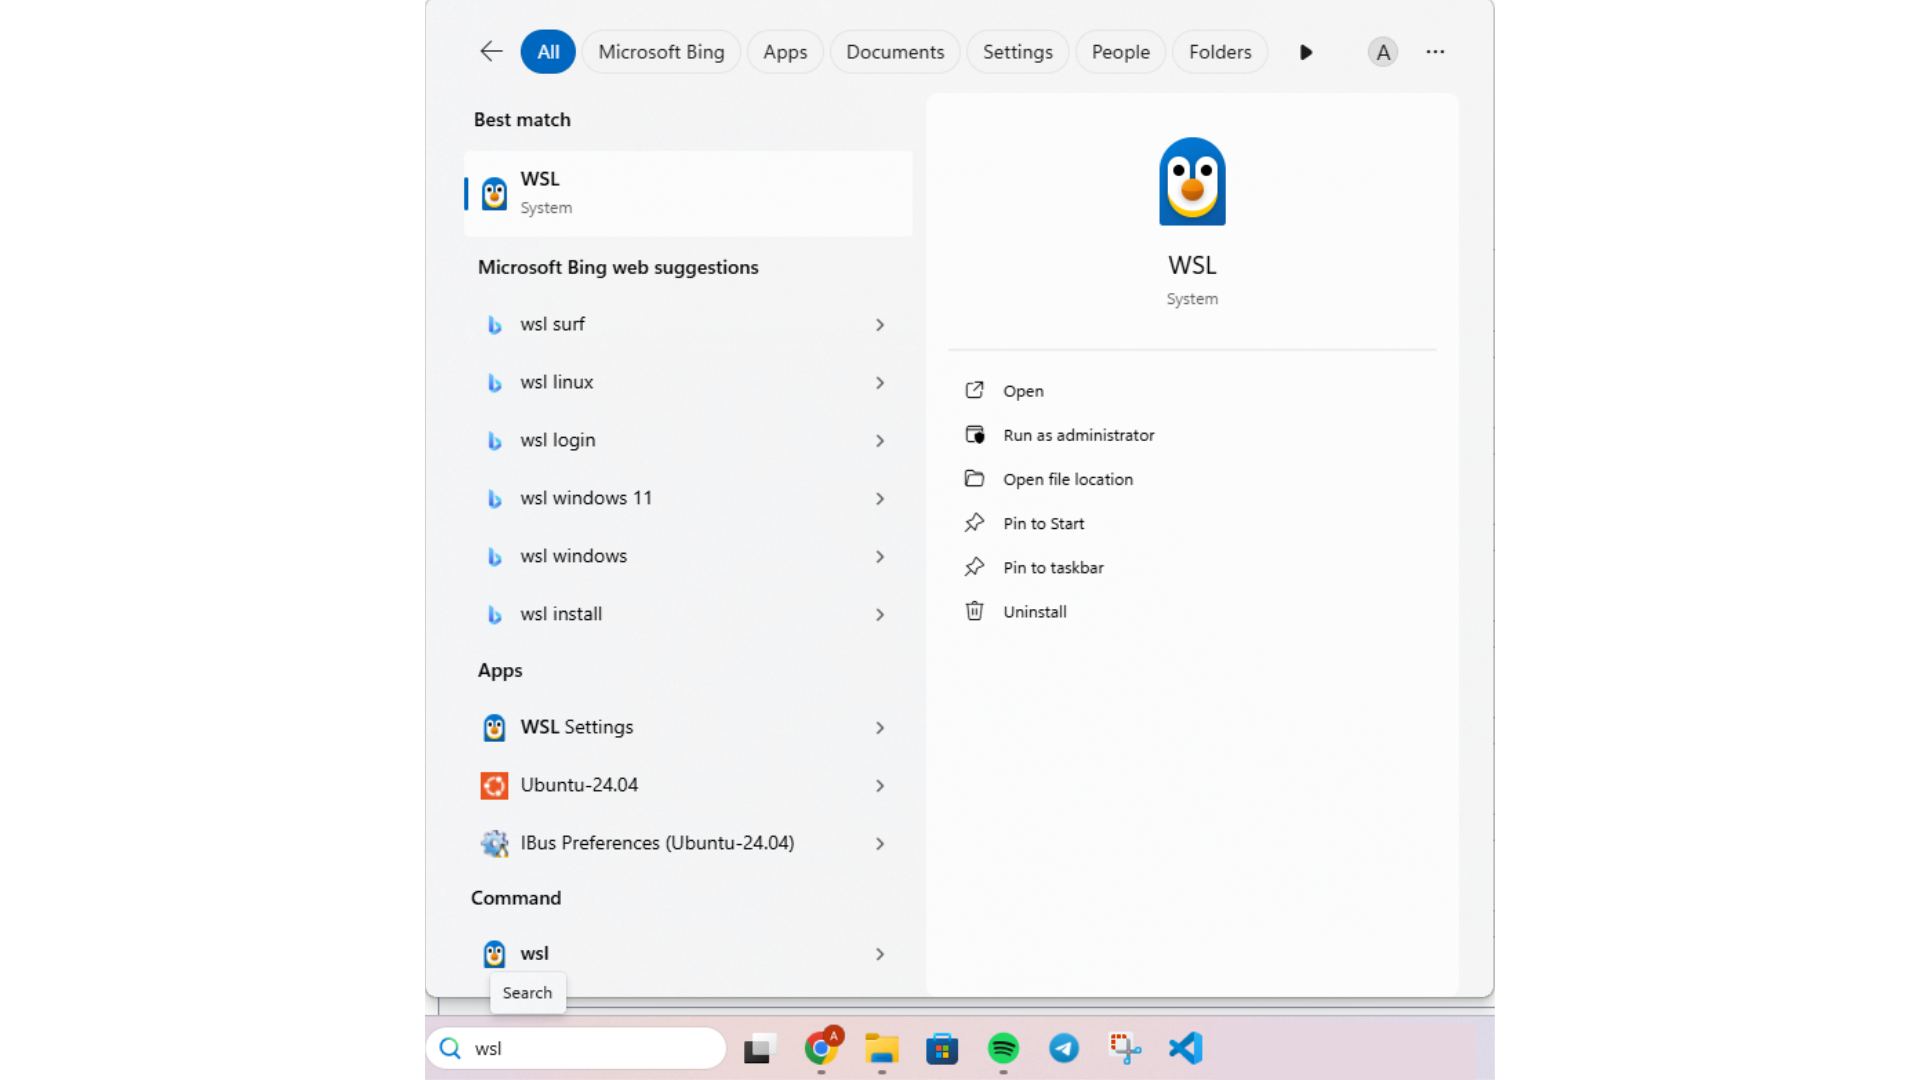
This will open a new Windows Command Prompt inside the installed Ubuntu distro and that you can use to reproduce the laboratory lessons of this course.