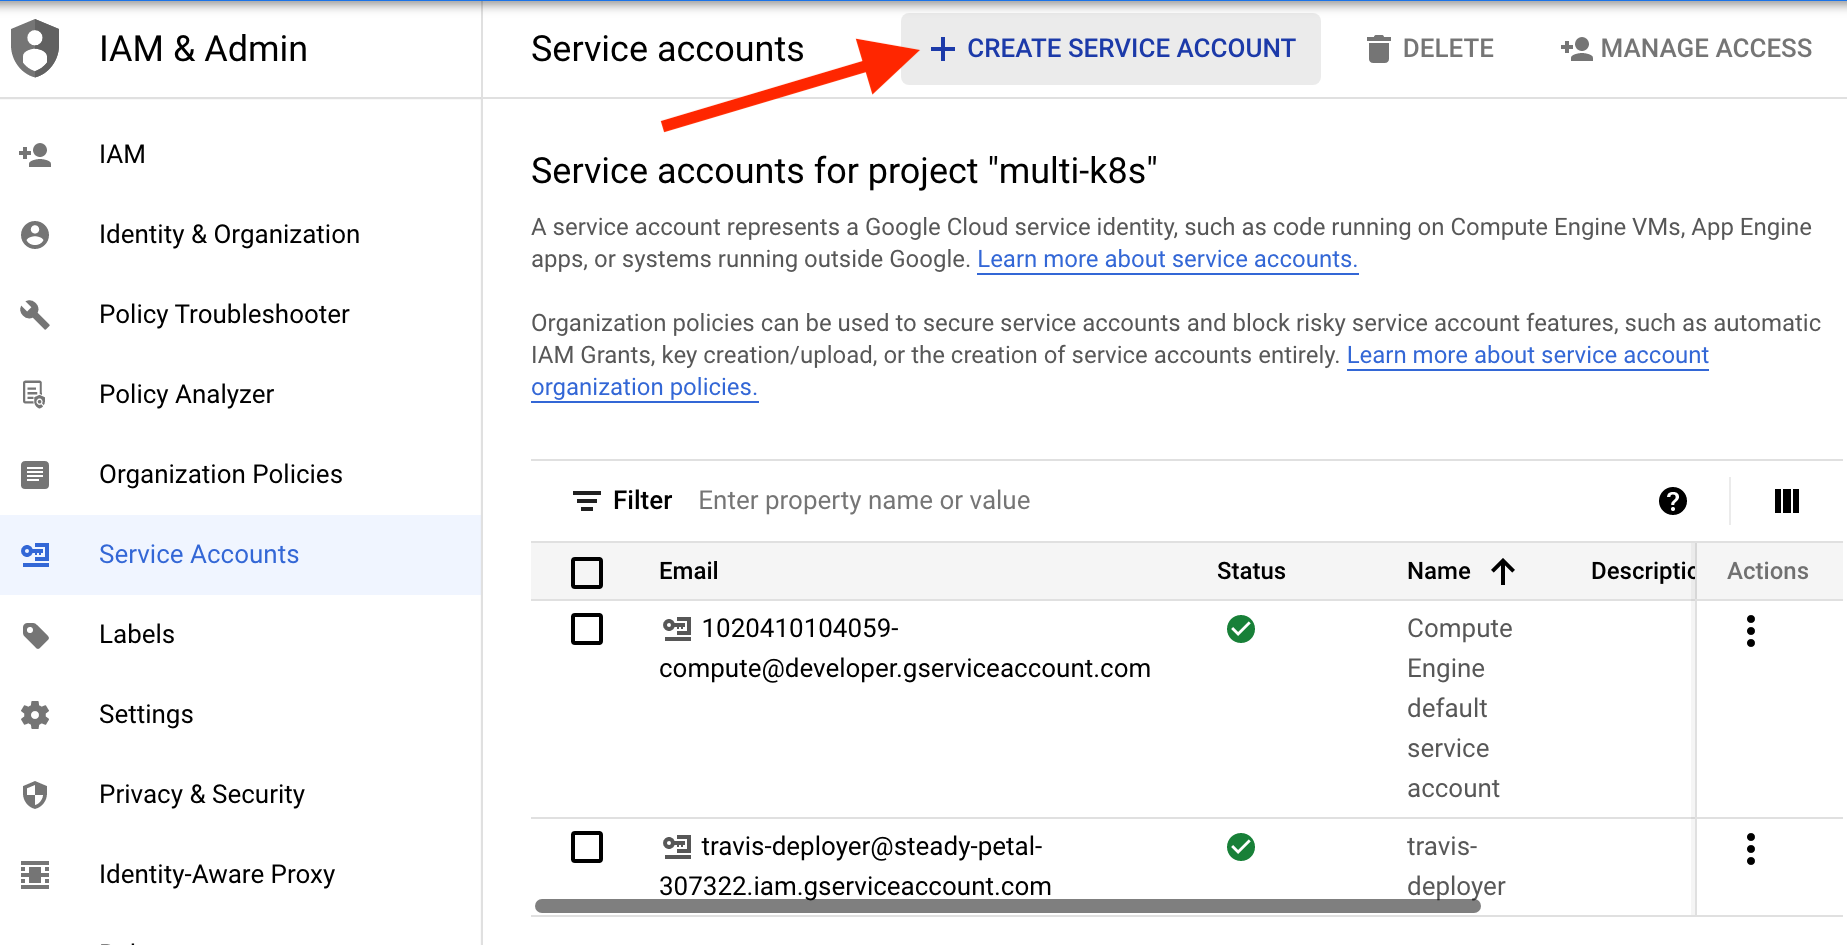
Click the Hamburger menu on the top left-hand side of the dashboard, find IAM & Admin, and select Service Accounts. Then click the CREATE SERVICE ACCOUNT button.
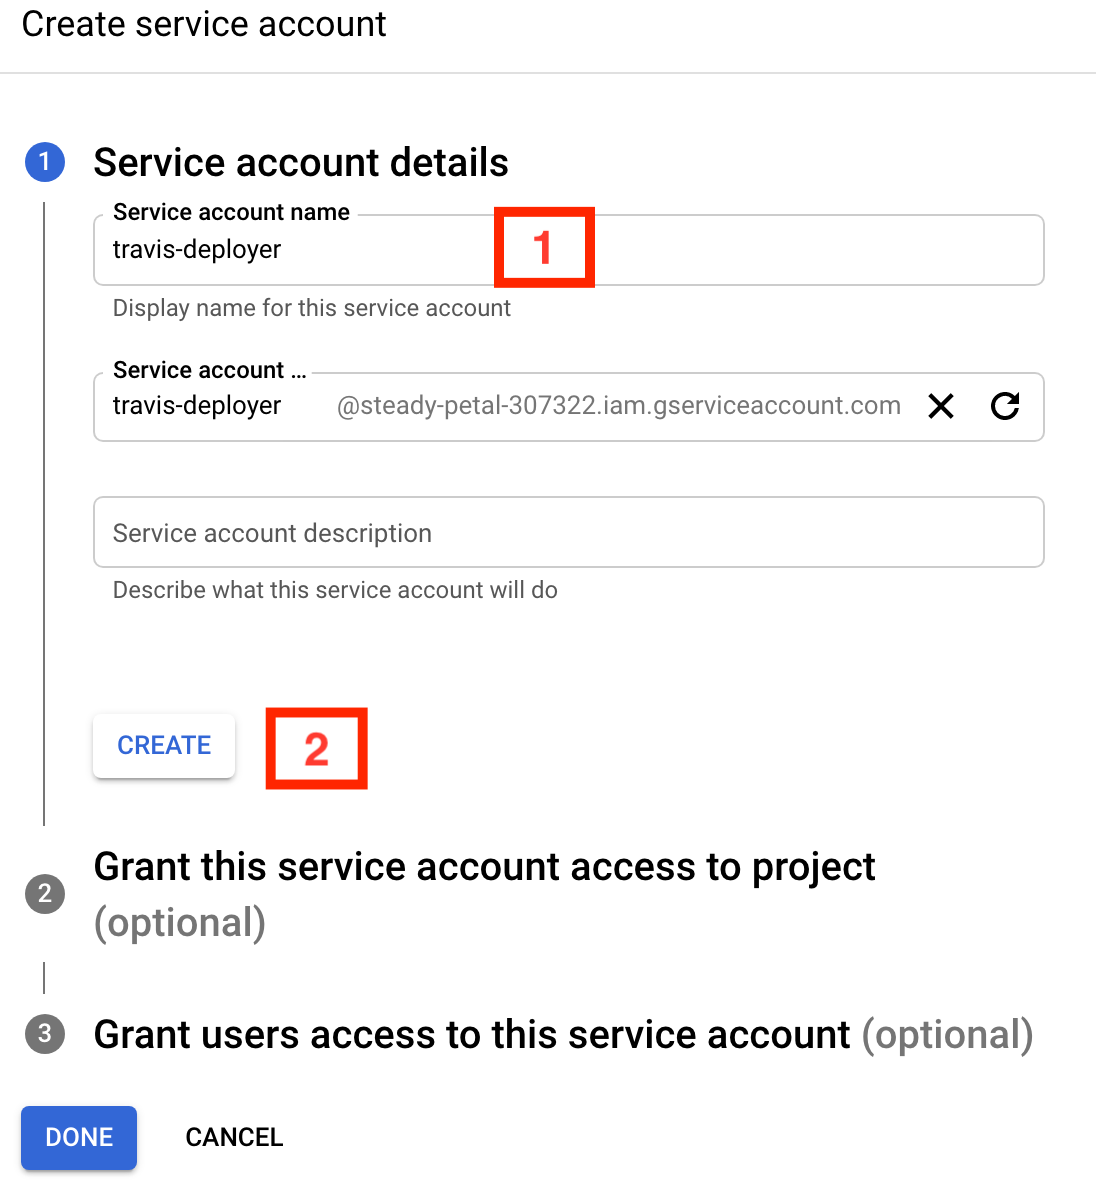
In the form that is displayed, set the Service account name to travis-deployer (step 1), then click the CREATE button (step 2).
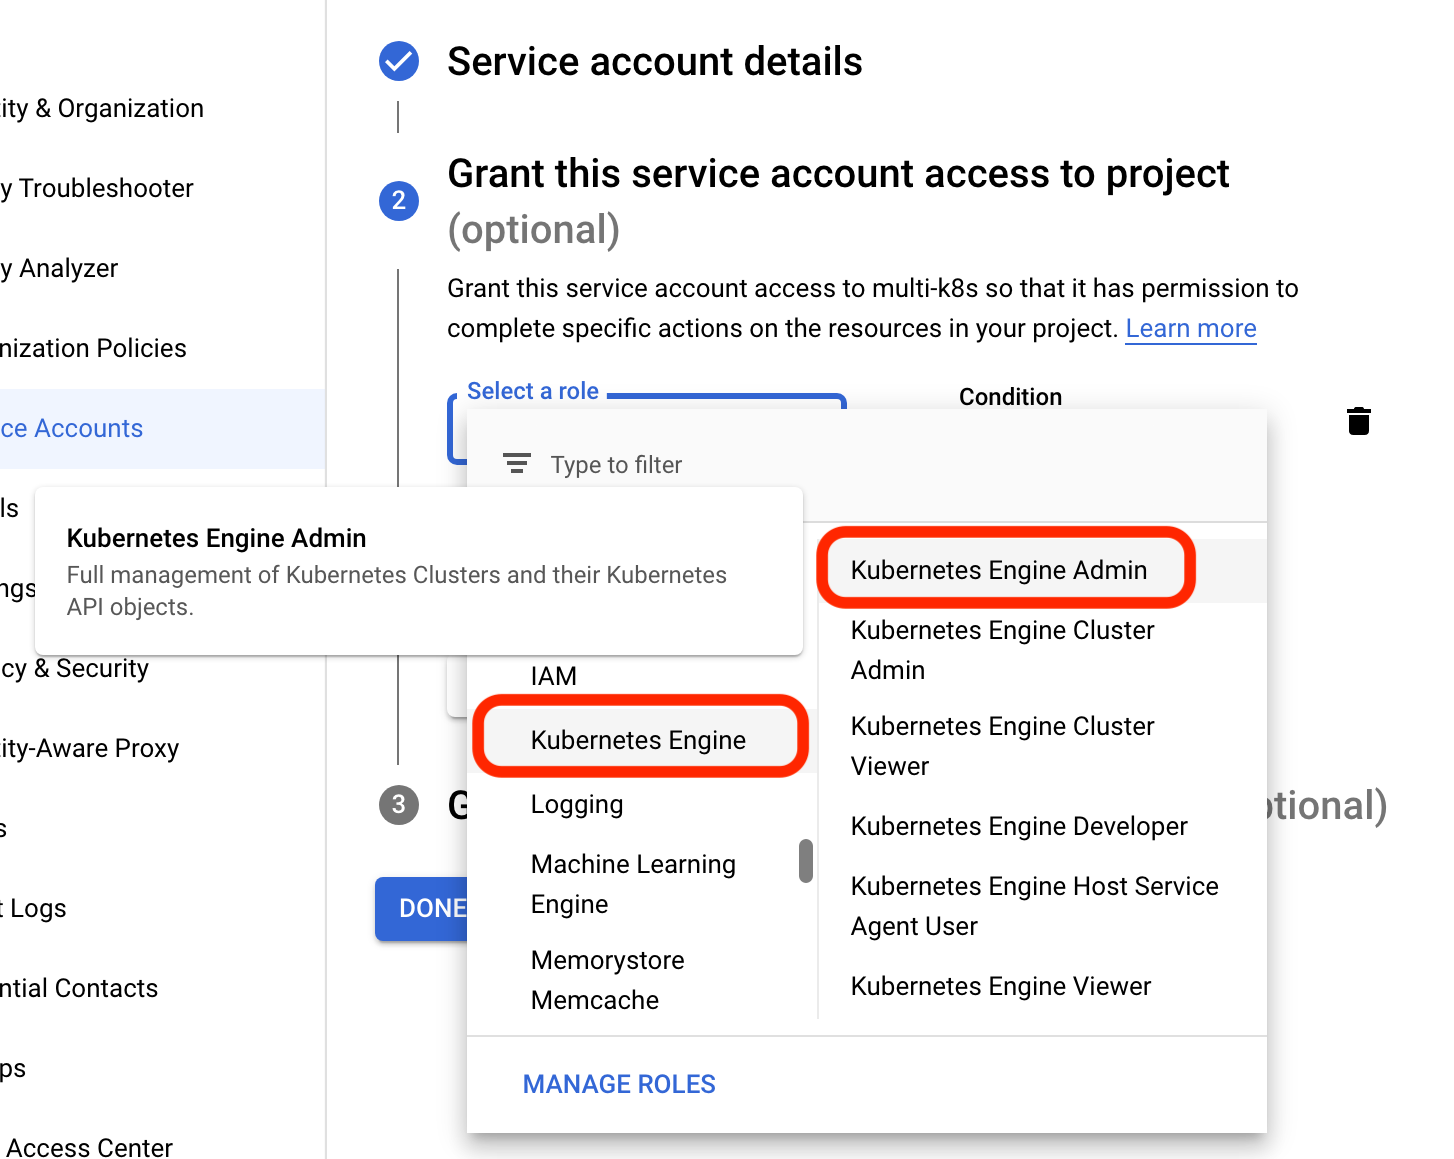
Click in the Select a role filter and scroll down to select Kubernetes Engine and then Kubernetes Engine Admin.
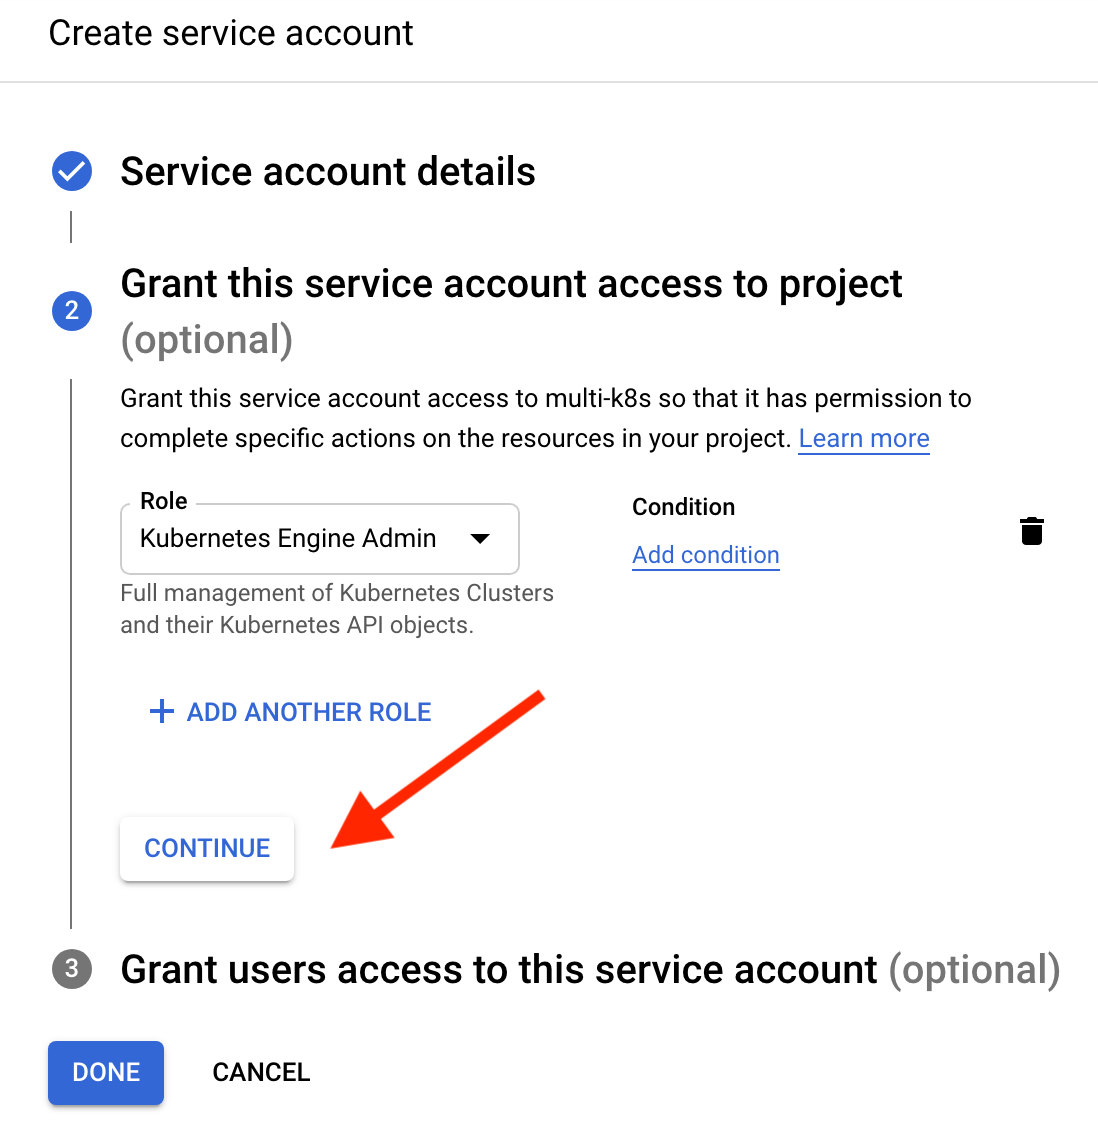
Make sure the filter now shows Kubernetes Engine Admin and then click CONTINUE
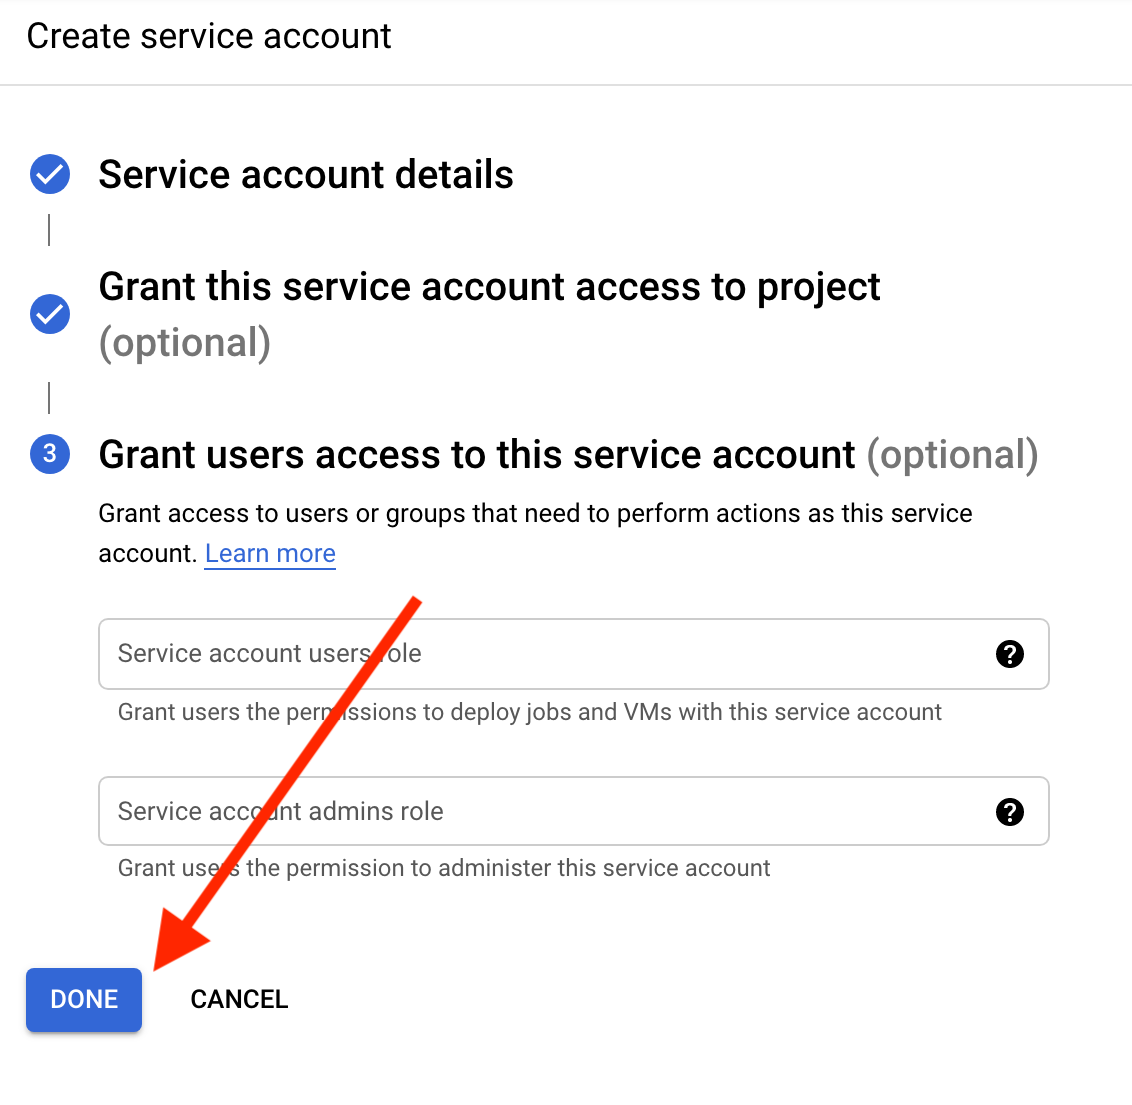
The Grant users access form is optional and should be skipped. Click the DONE button.
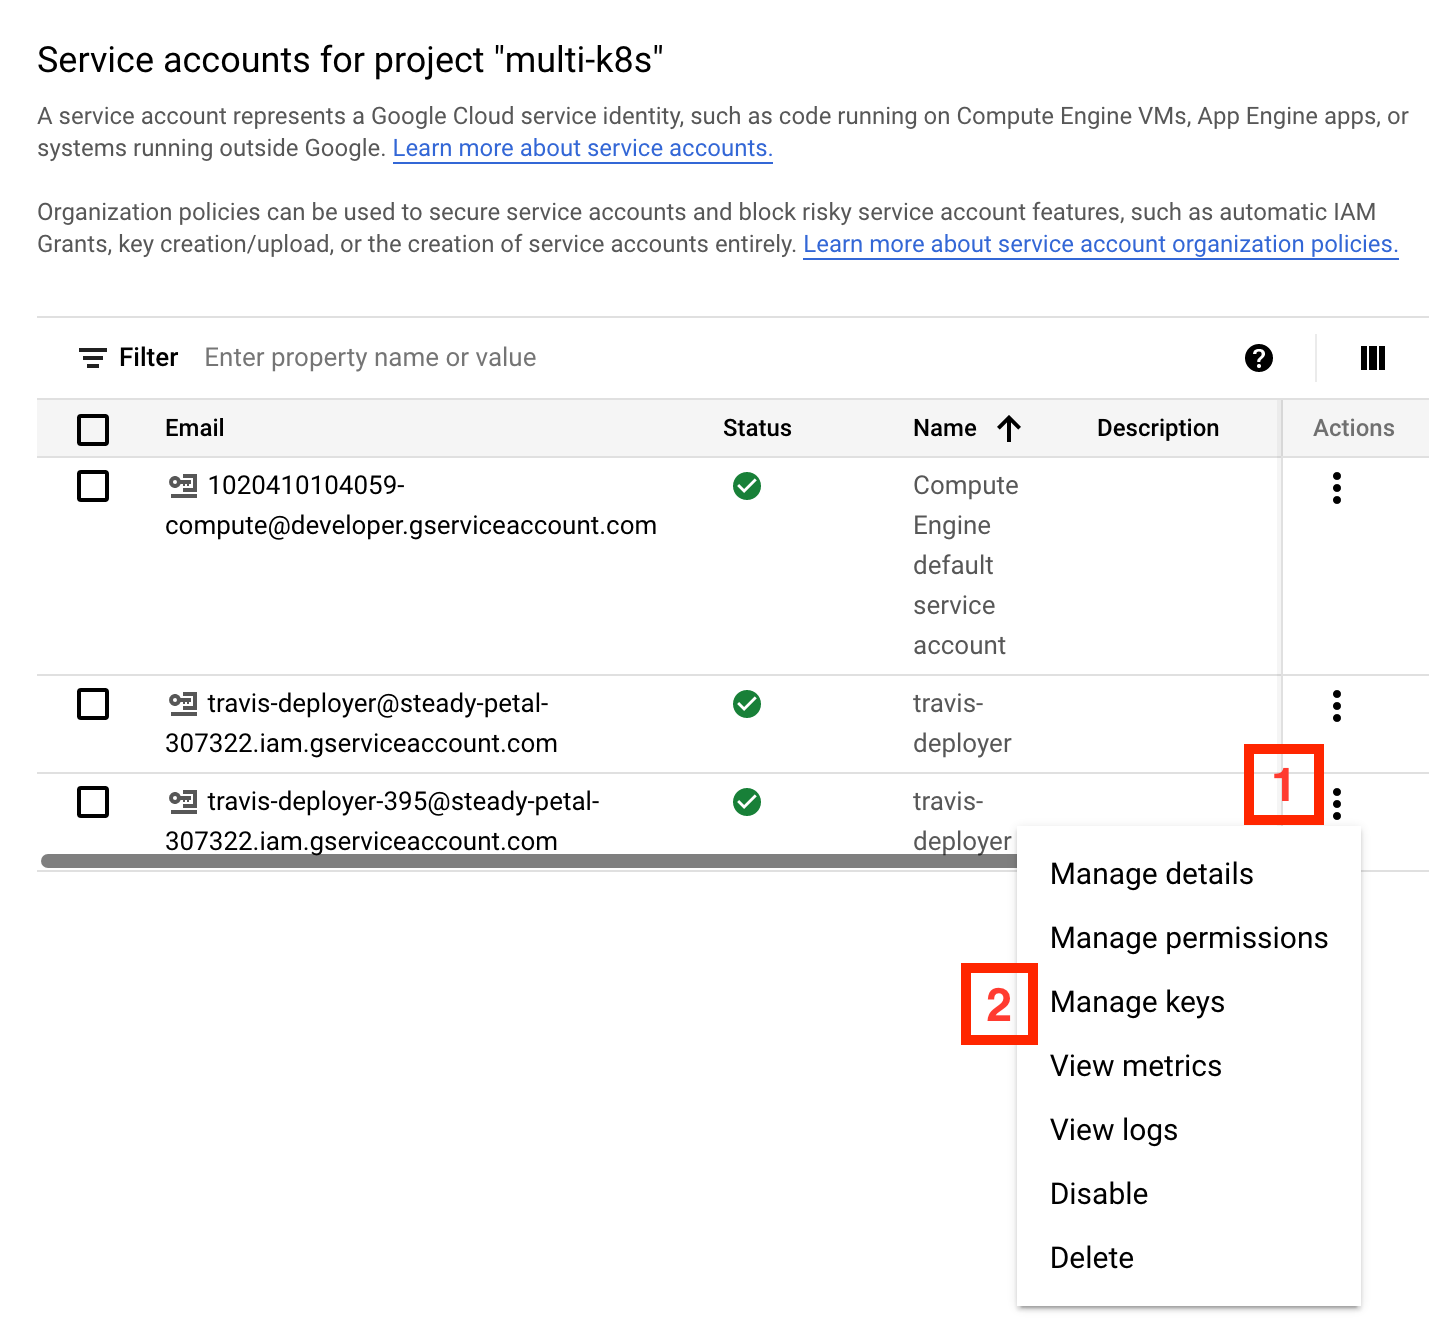
You should now see a table listing all of the service accounts including the one that was just created. Click the three dots to the right of the service account you just created. Then select Manage Keys in the dropdown.
In the Keys dashboard, click ADD KEY and then select Create new key.

In the Create private key dialog box, make sure Key type is set to JSON, and then click the CREATE button.
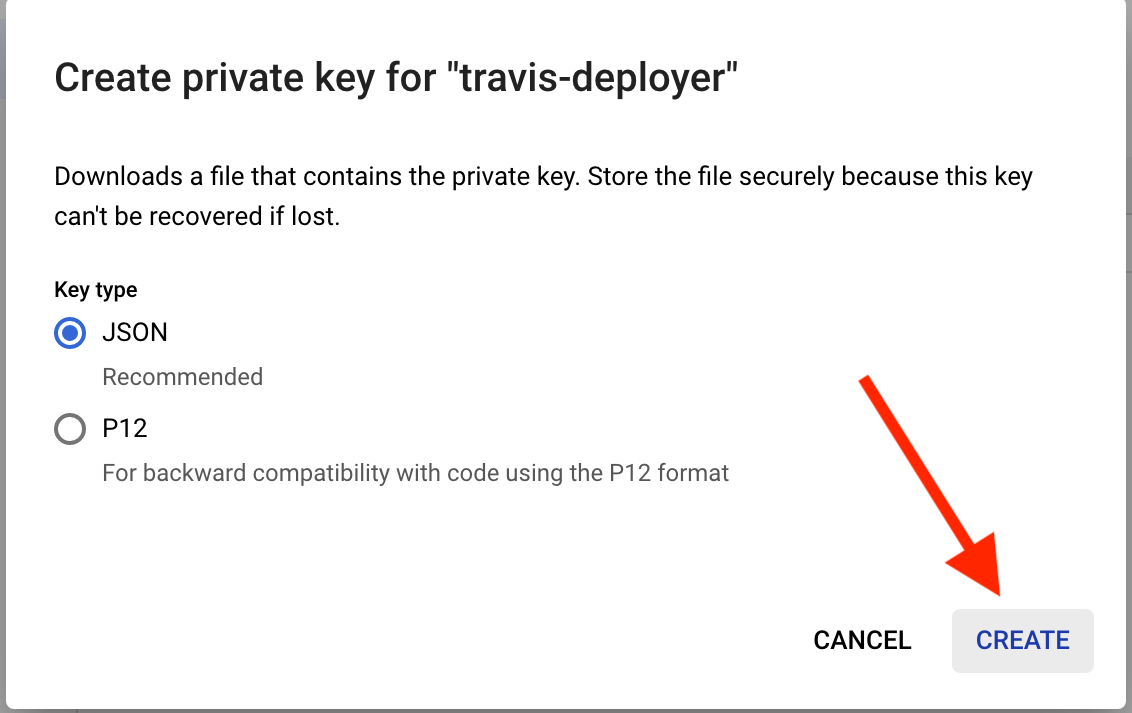
The JSON key file should now download to your computer.