These instructions should be valid for Debian, Ubuntu, or Mint Linux distributions. Your experience may vary if using other distributions such as RHEL, Arch, non-desktop distributions like Ubuntu server, or lightweight distros which may omit many expected tools.
In your terminal run the following:
curl -LO https://storage.googleapis.com/minikube/releases/latest/minikube-linux-amd64
sudo install minikube-linux-amd64 /usr/local/bin/minikube
After you have successfully installed Minikube we need to start and test the cluster to make sure everything is working correctly.
1. Add your user to the docker group
Note - If this step was performed when Docker was installed, it can be skipped.
In your terminal, run:
sudo usermod -aG docker $USER && newgrp docker
Log out of the user profile and log back in so these changes take effect. If running inside a VM, you will need to restart the entire machine, not just log out.
2. Start with the default driver:
In your terminal, run:
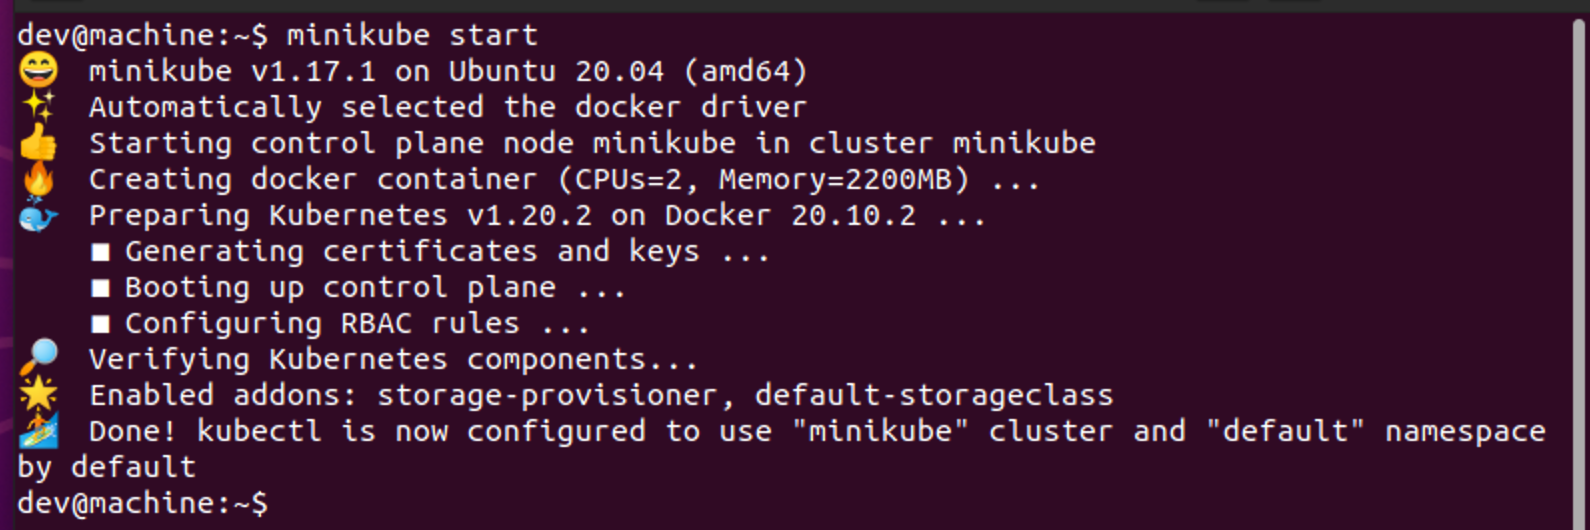
minikube start
Your output should look similar to this:
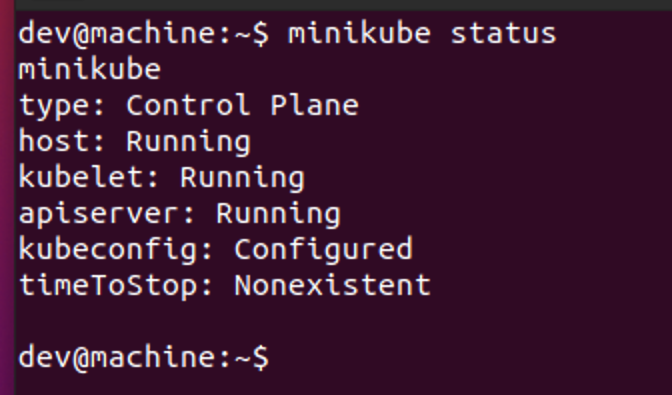
2. Check Minikube Status
After you see a Done! message in your terminal, run minikube status to make sure the cluster is healthy. Pay particular attention that the apiserver is in a "Running" state.
3. Install kubectl
In your terminal run the following:
curl -LO "https://dl.k8s.io/release/$(curl -L -s https://dl.k8s.io/release/stable.txt)/bin/linux/amd64/kubectl"
sudo install -o root -g root -m 0755 kubectl /usr/local/bin/kubectl
4. Test kubectl
Lastly, open up your terminal and make sure that you can run kubectl version

Note - the client and server can be off by one minor version without error or issue.