These instructions are for using Docker Desktop's built-in Kubernetes instead of Minikube on macOS. This is currently the best-supported and most recommended solution for running Kubernetes on macOS (including m1 and m2 ARM machines).
Note - It is assumed that Docker Desktop has already been installed and is in a working state.
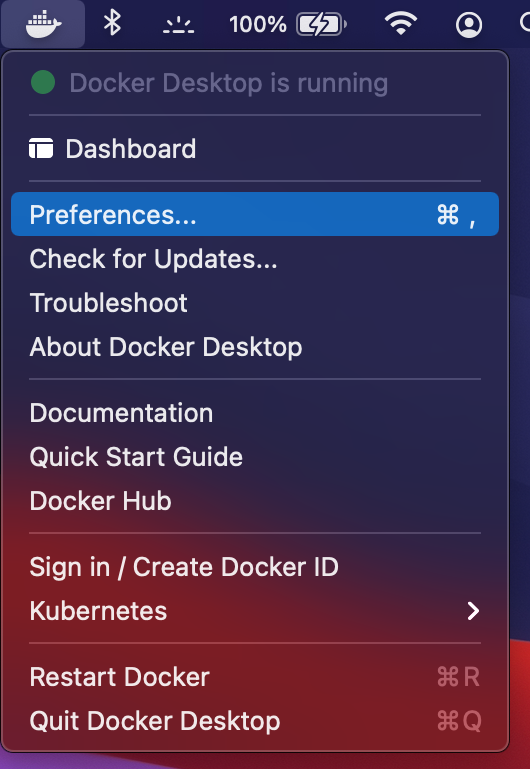
Click the Docker icon found on the right side of the macOS menu bar.
Click Preferences from the dropdown menu that appears.
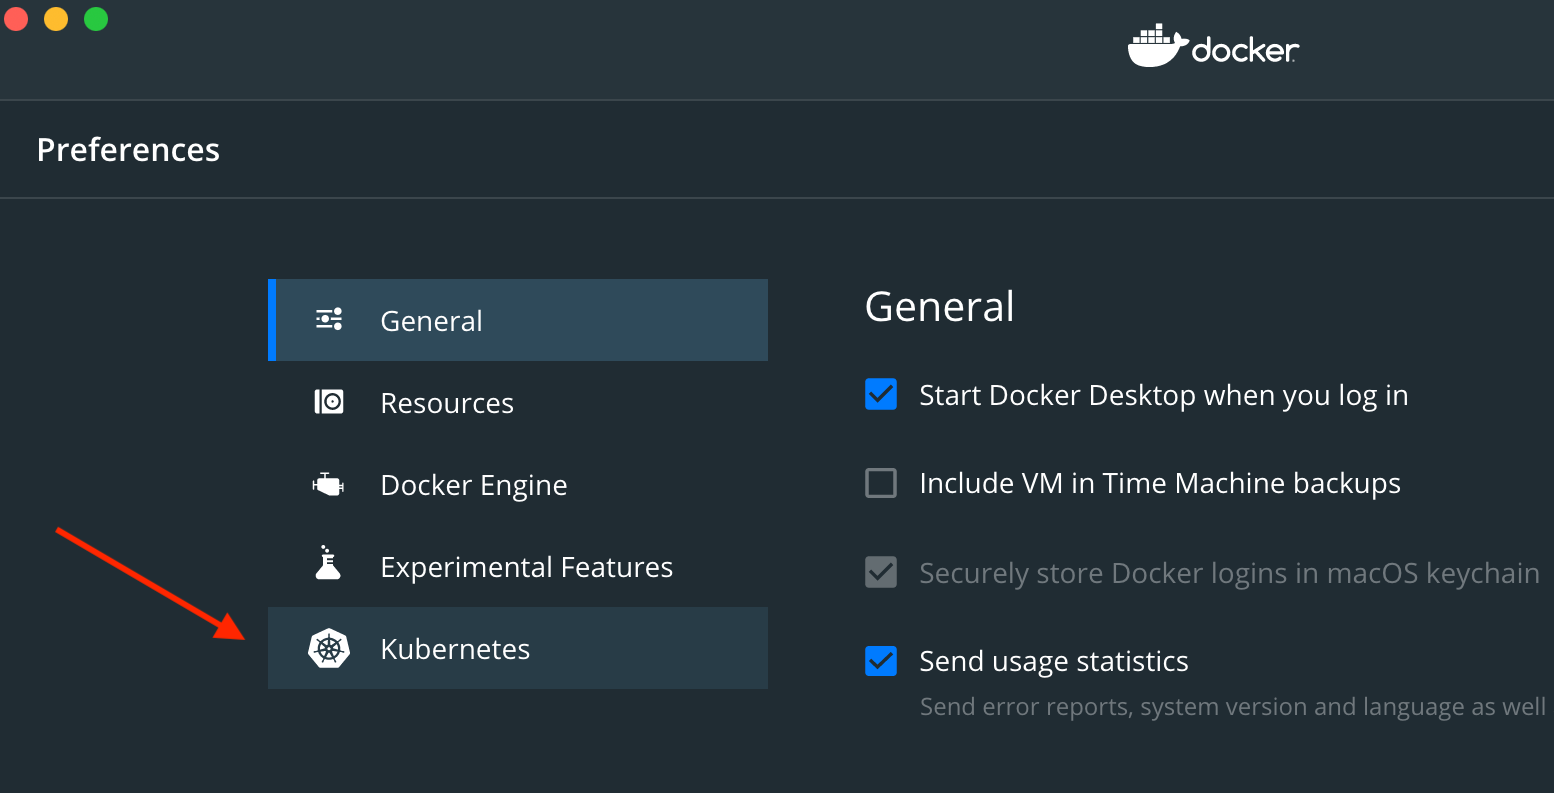
Click Kubernetes in the left side menu.
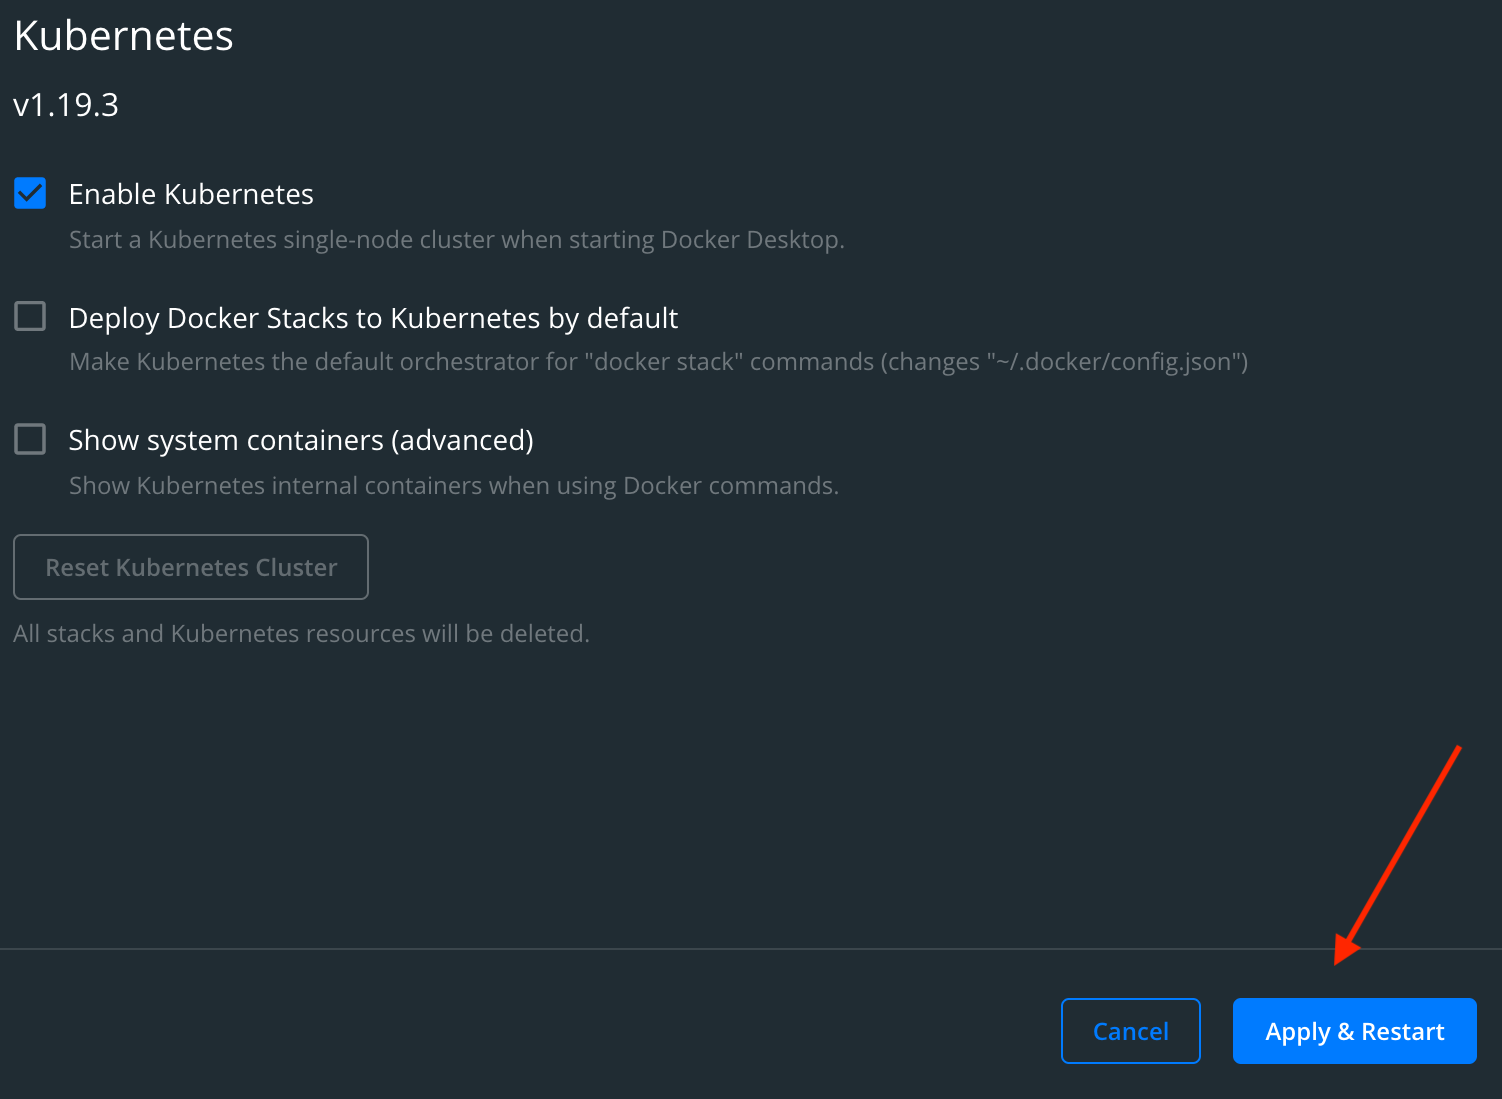
Check the Enable Kubernetes box and then click the Apply & Restart button.
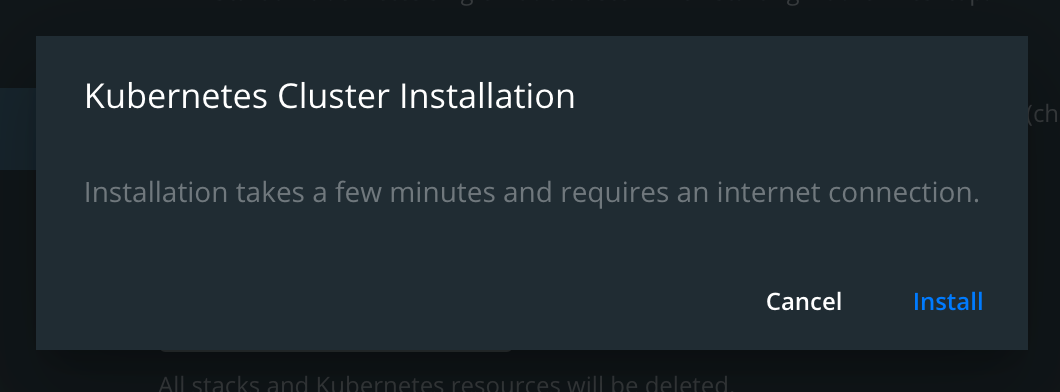
Click Install to allow the cluster installation.
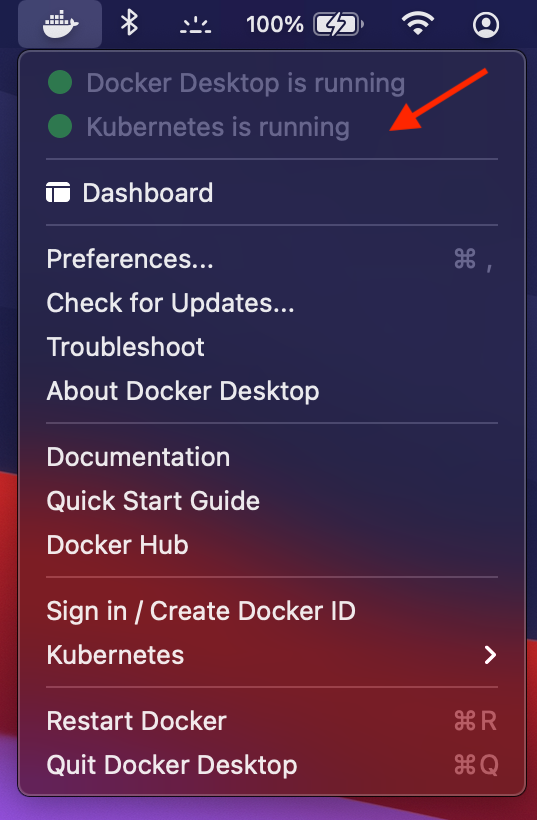
After the installation dialog disappears, click the Docker icon to make sure there is a Kubernetes is running message and green circle.
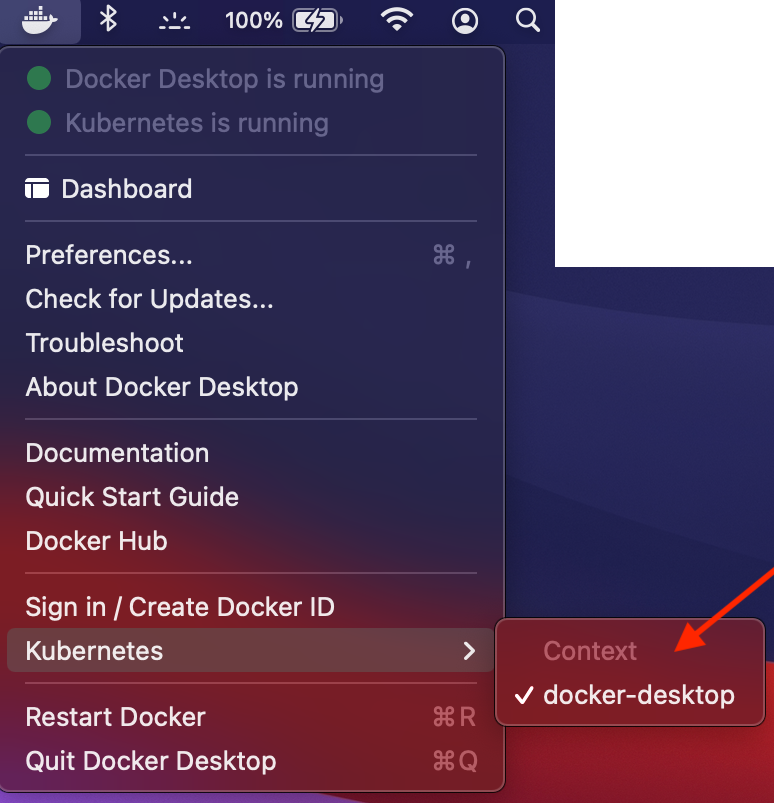
Then, select Kubernetes in this dropdown menu and make sure the context is set to docker-desktop and not something else like minikube or kind.
Finally, open up your terminal and make sure that you can run kubectl version
Note - the client and server can be off by one minor version without error or issue.
Usage
Going forward, any minikube commands run in the lecture videos can be ignored. Also, you will be using localhost to access the services running in your cluster instead of the minikube IP address.
For example, in the first project where we deploy our simple React app, using minikube we would visit:
192.168.99.101:31515
Instead, when using Docker Desktop's Kubernetes, we would visit: