Please use the following instructions to create an Elastic Beanstalk environment. Since the AWS UI and options change frequently, these are provided as a lecture note instead of a video lecture.
These instructions contain four important sections - please do not skip any of them.
1. Creating EC2 Instance Profile and Service Role
2. Elastic Beanstalk Environment Creation
3. S3 Bucket Configuration
4. Required Updates for Docker Compose
The first thing we need to do is to create an EC2 IAM Instance Profile. This is something that AWS used to generate automatically when creating the environment but now must be created manually.
1. Go to AWS Management Console
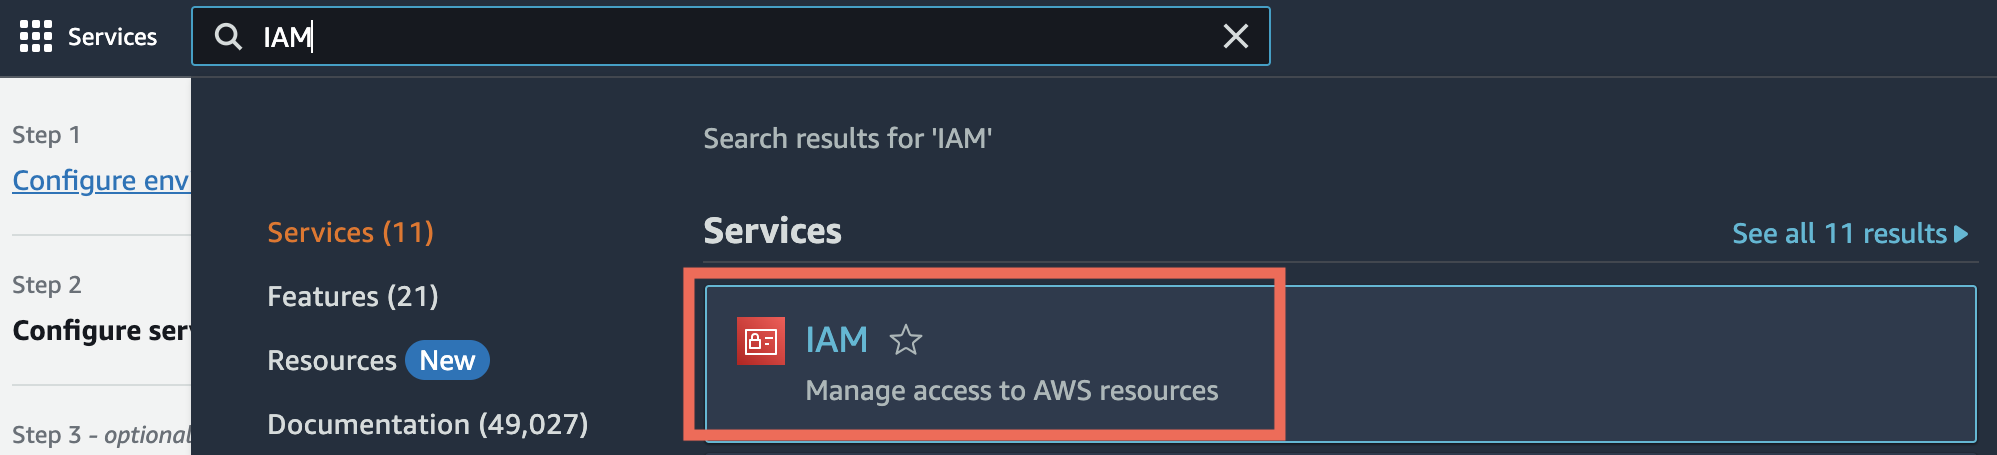
2. Search for IAM and click the IAM Service.
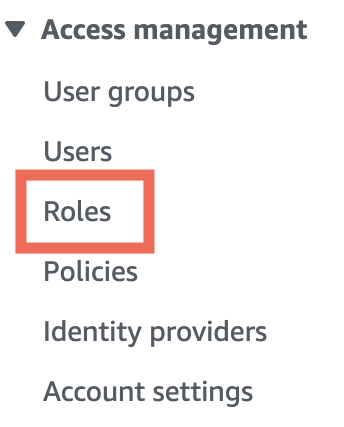
3. Click Roles under Access Management in the left sidebar.
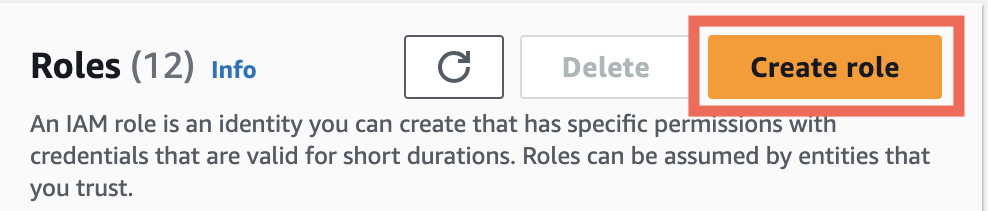
4. Click the Create role button.
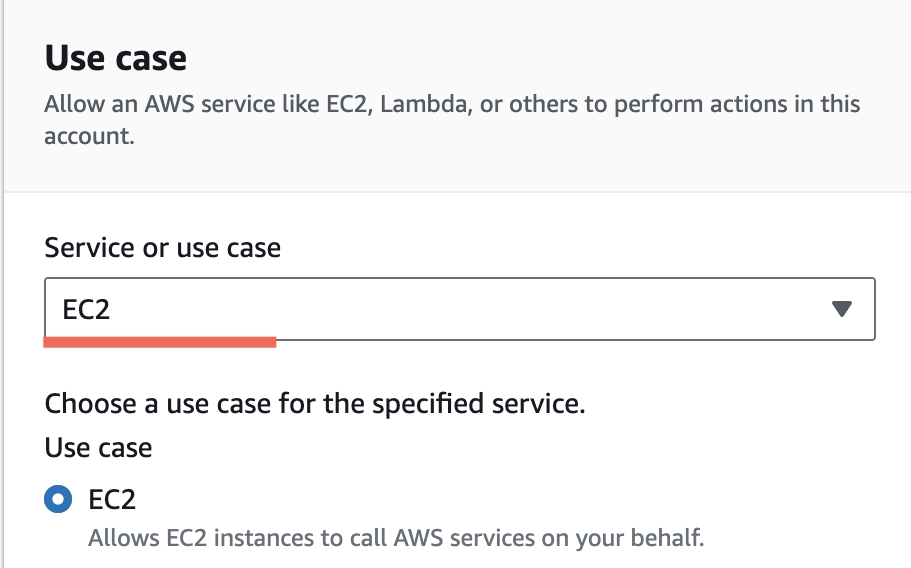
5. Select AWS Service under Trusted entity type.
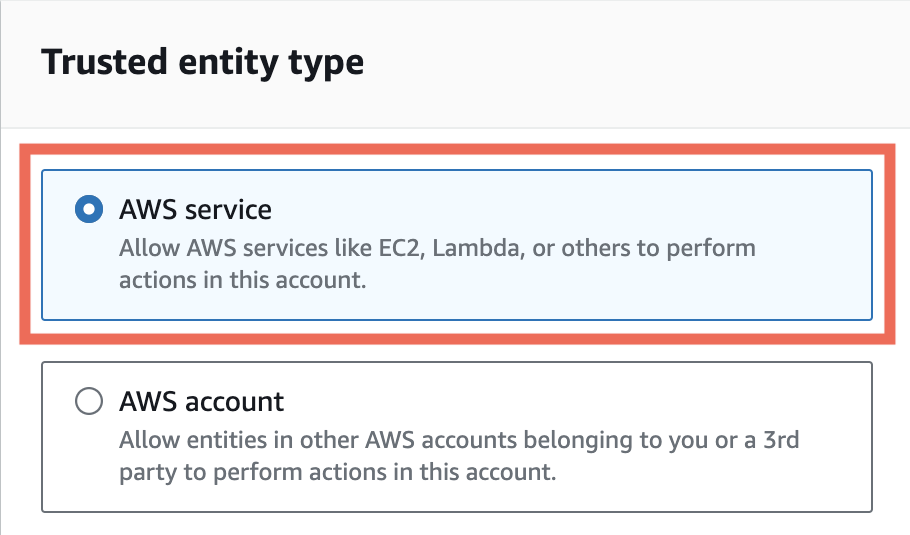
Then select EC2 under common use cases and click Next.
6. Search for AWSElasticBeanstalk and select the AWSElasticBeanstalkWebTier, AWSElasticBeanstalkWorkerTier and AWSElasticBeanstalkMulticontainerDocker policies. Click the Next button.
7. Give the role the name of aws-elasticbeanstalk-ec2-role
8. Click the Create role button.
1. Go to AWS Management Console
2. Search for IAM and click the IAM Service.
3. Click Roles under Access Management in the left sidebar.
4. Click the Create role button.
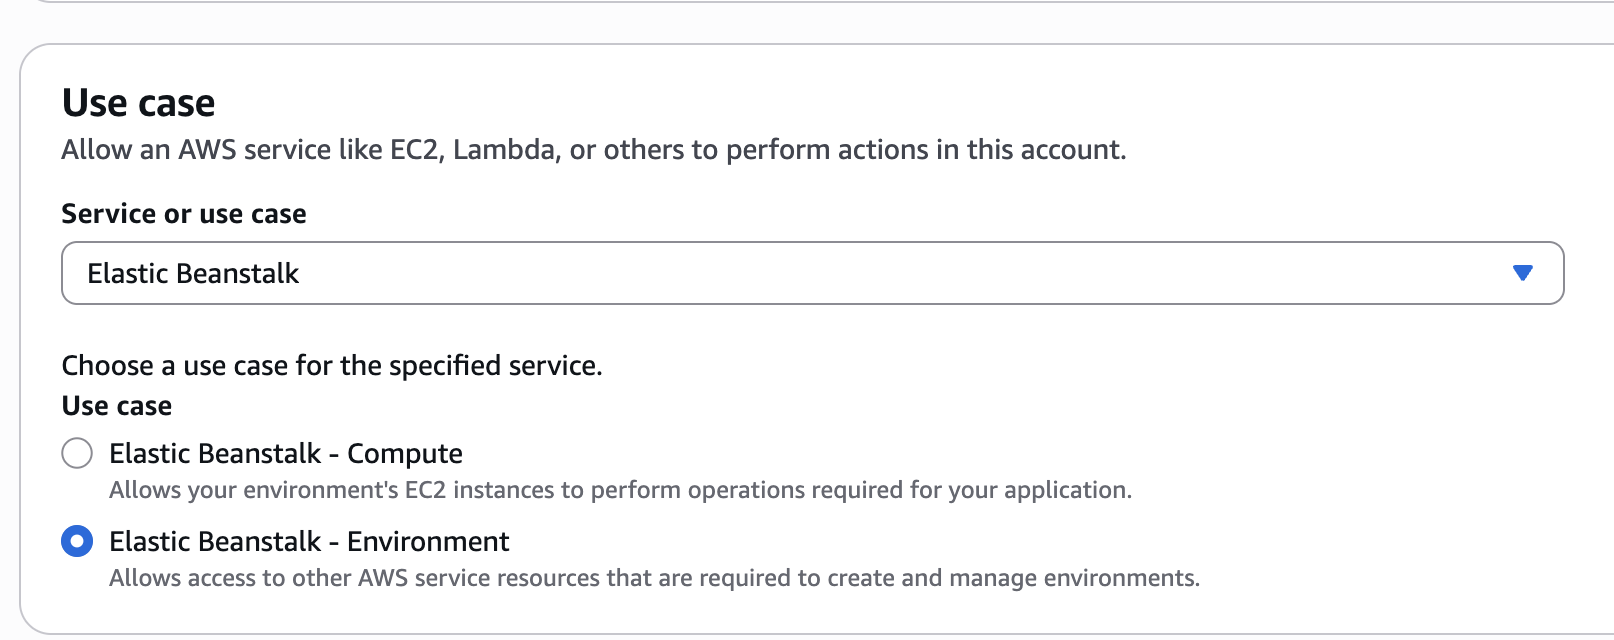
5. Select AWS Service under Trusted entity type.
6. Type and select Elastic Beanstalk under common use cases. Then, tick Elastic Beanstalk - Environment
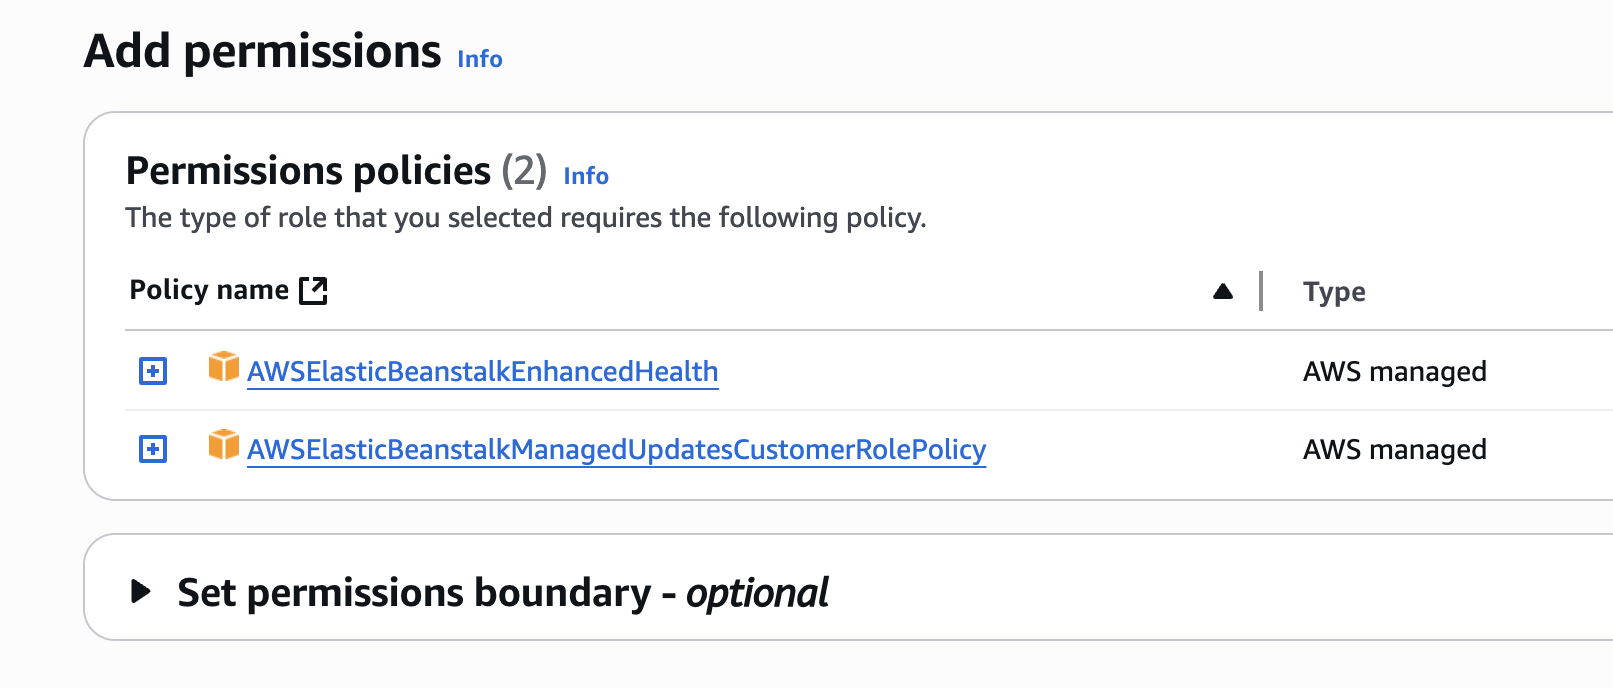
7. The following two permissions, as seen below, should be automatically set. Click the Next button.
8. Give the role the name of aws-elasticbeanstalk-service-role
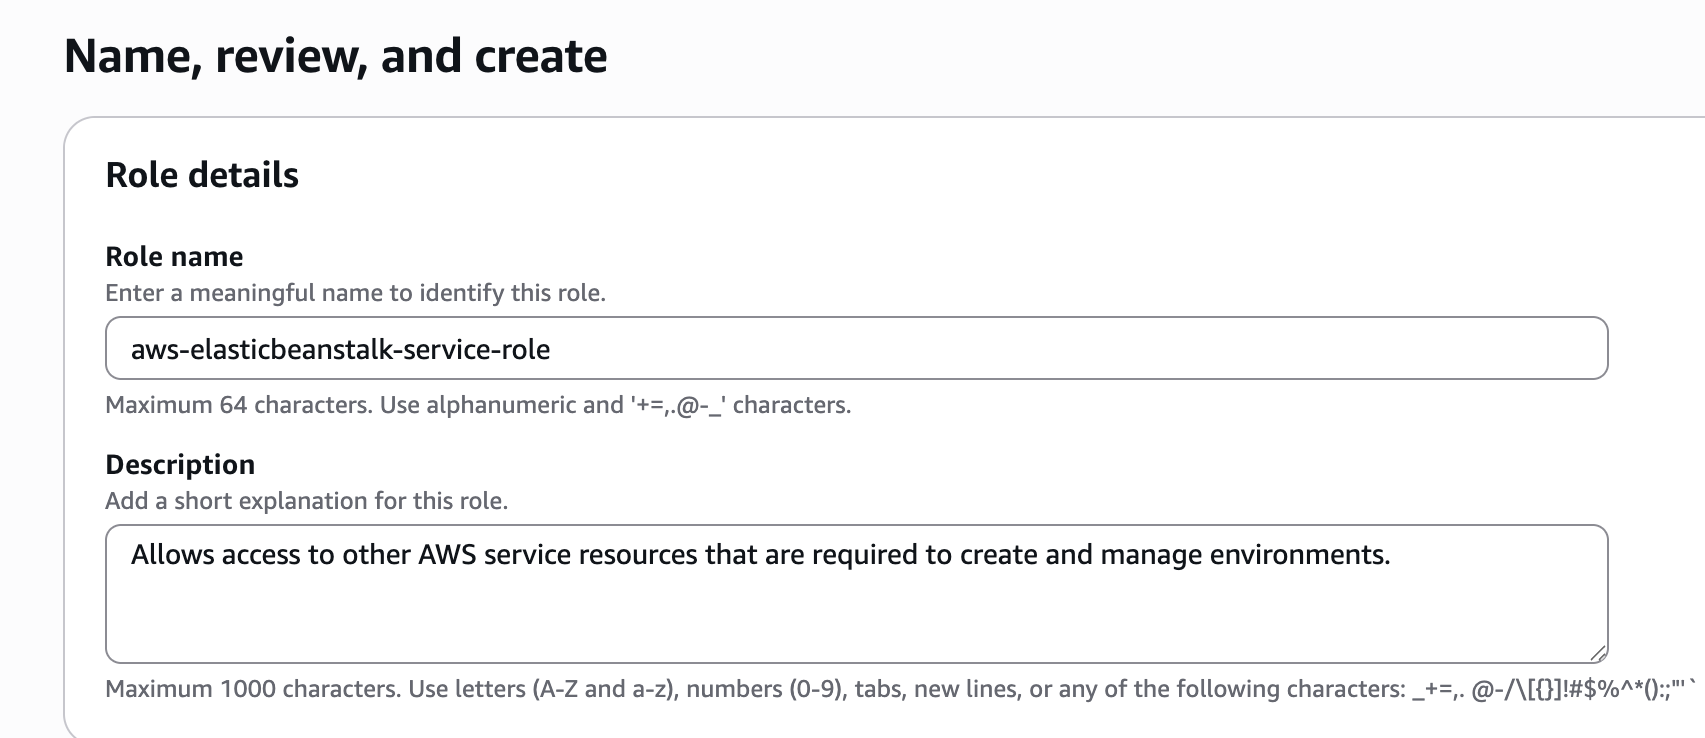
9. Click the Create Role button.
After you've created this Instance Profile, you will need to create an Elastic Beanstalk environment.
1. Go to AWS Management Console
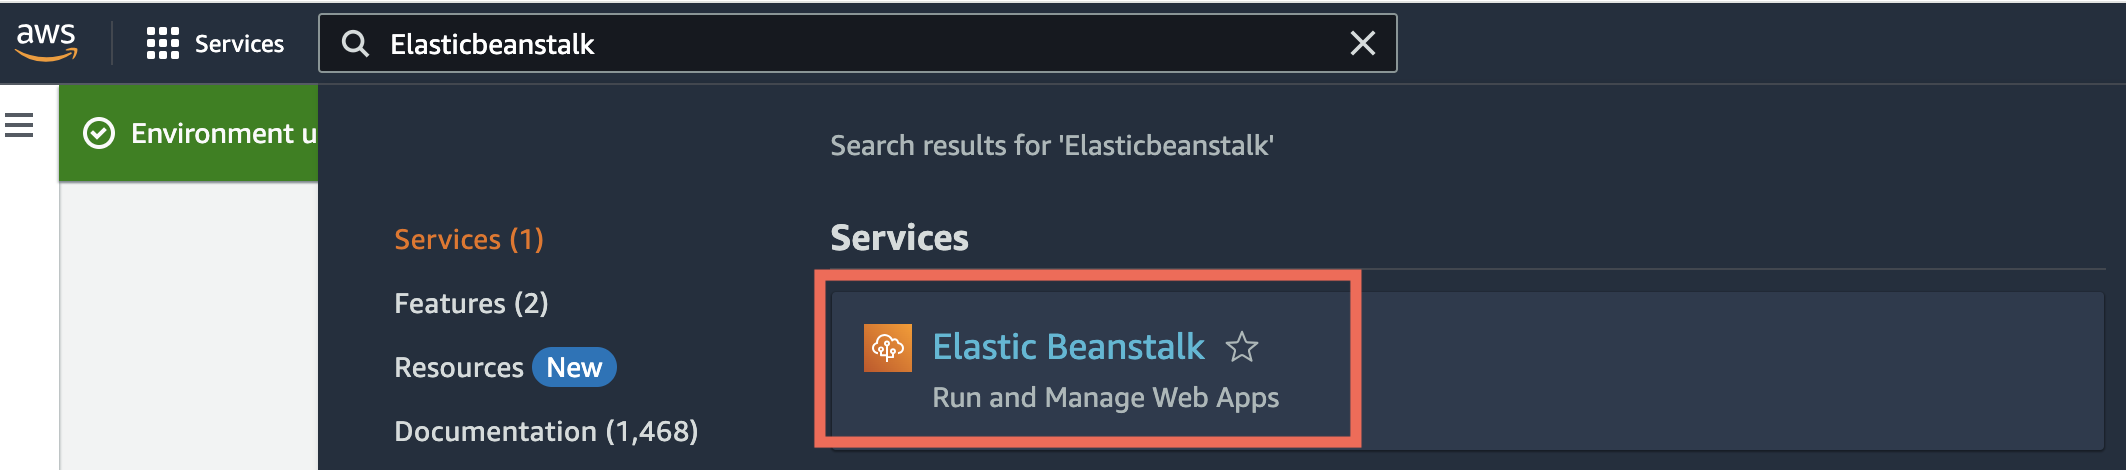
2. Search for Elastic Beanstalk and click the Elastic Beanstalk service.
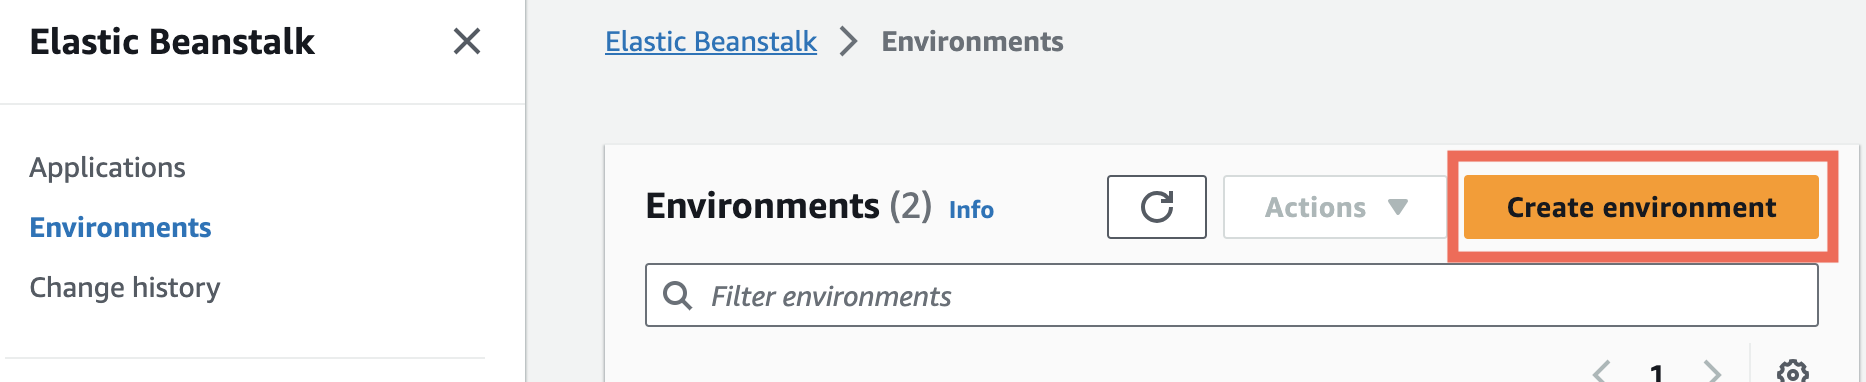
3. If you've never used Elastic Beanstalk before you will see a splash page. Click the Create Application button. If you have created Elastic Beanstalk environments and applications before, you will be taken directly to the Elastic Beanstalk dashboard. In this case, click the Create environment button.
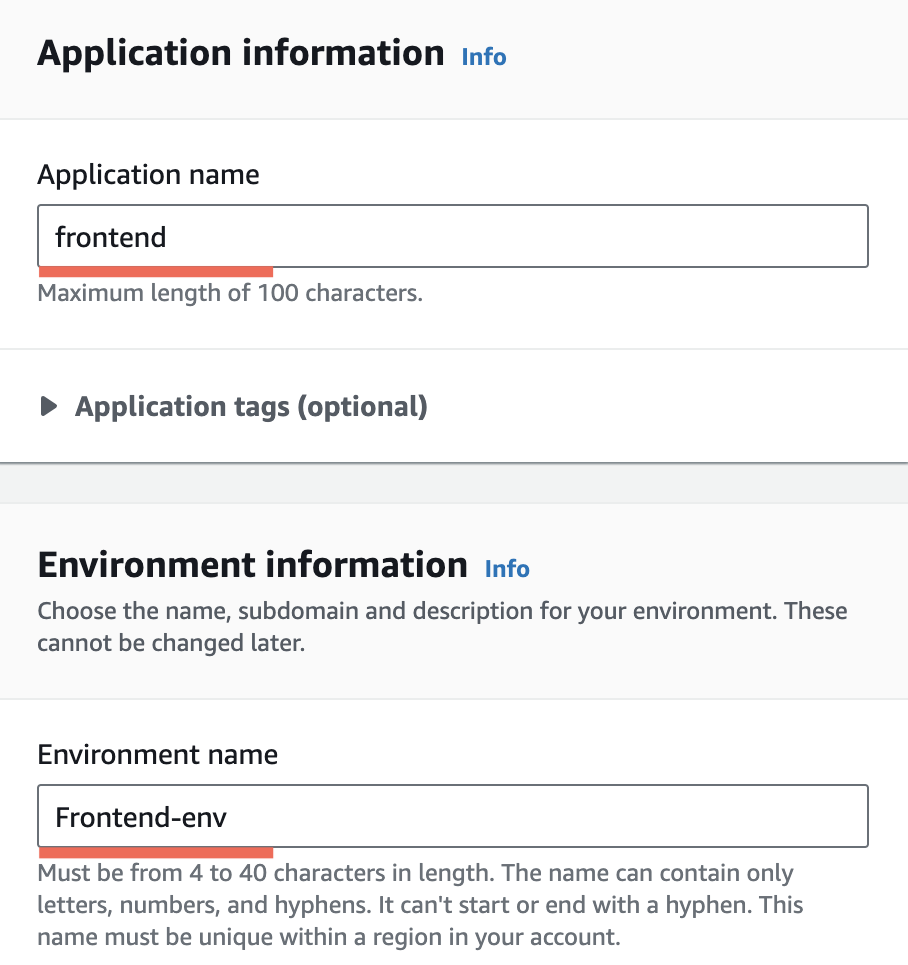
4. You will need to provide an Application name, which will auto-populate an Environment Name.
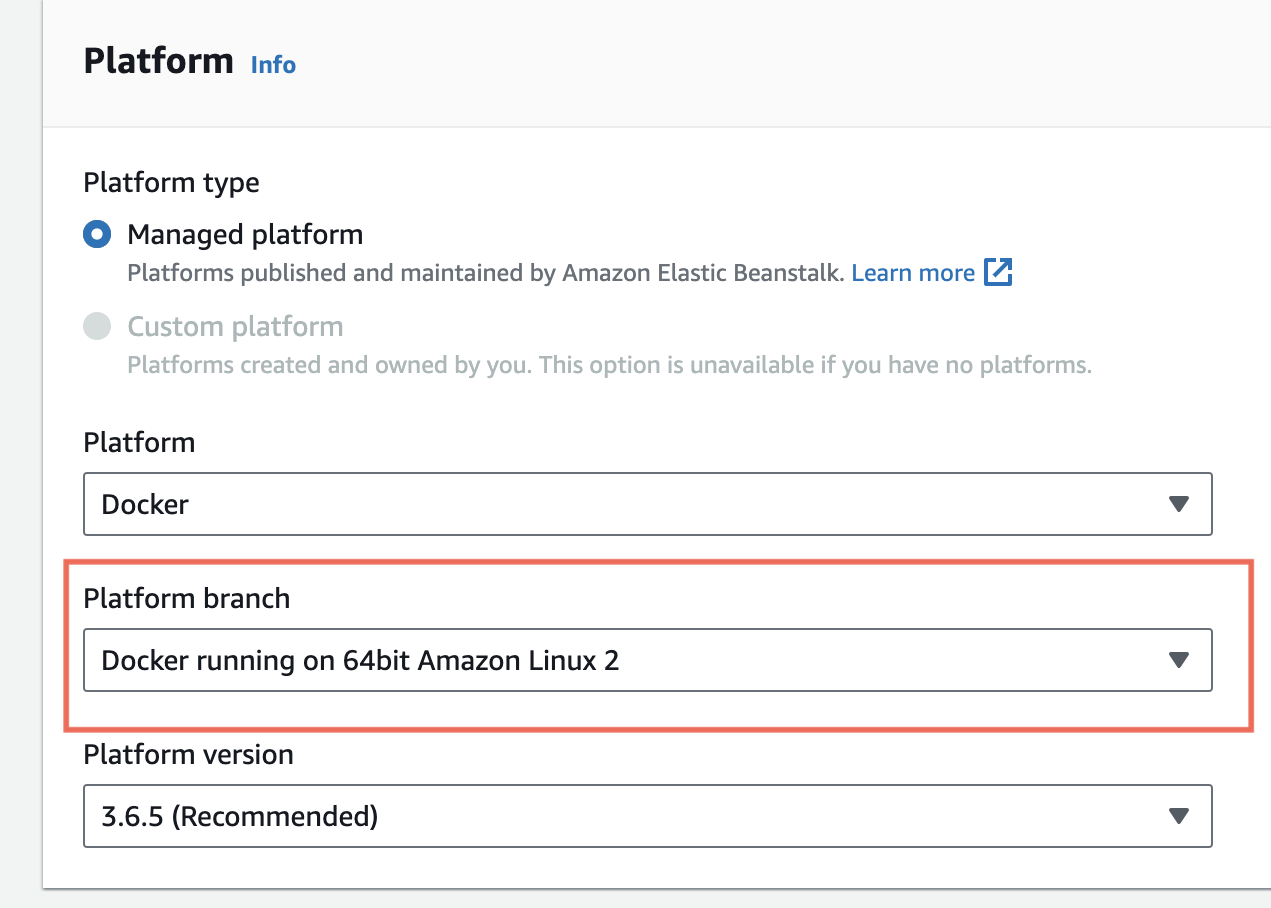
5. Scroll down to find the Platform section. You will need to select the Platform of Docker. This will auto-select several default options. Change the Platform branch to Docker running on 64bit Amazon Linux 2. The new 2023 branch currently has issues with single-container deployments.
6. Scroll down to the Presets section and make sure that free tier eligible has been selected:
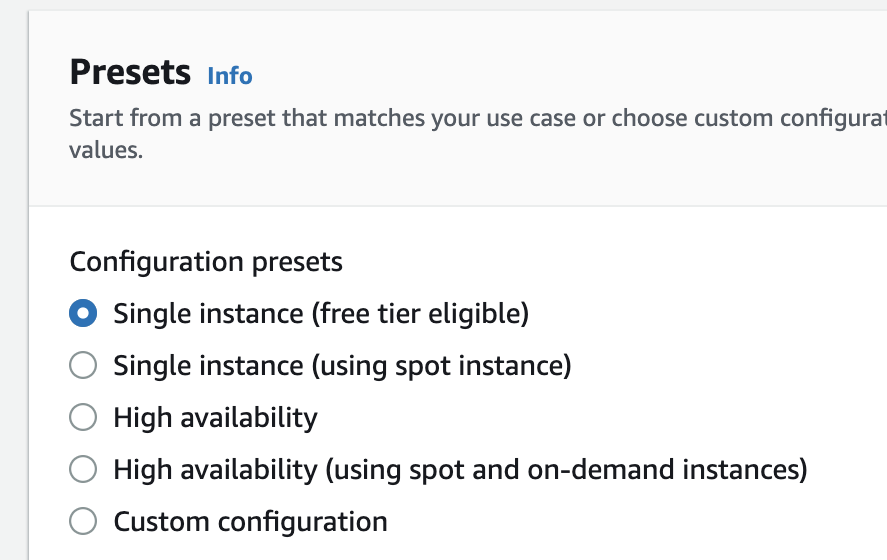
7. Click the Next button.
8. You will be taken to a Service Access configuration form. Both the Service Role and EC2 Instance Profile fields should be automatically set to the roles we created earlier.
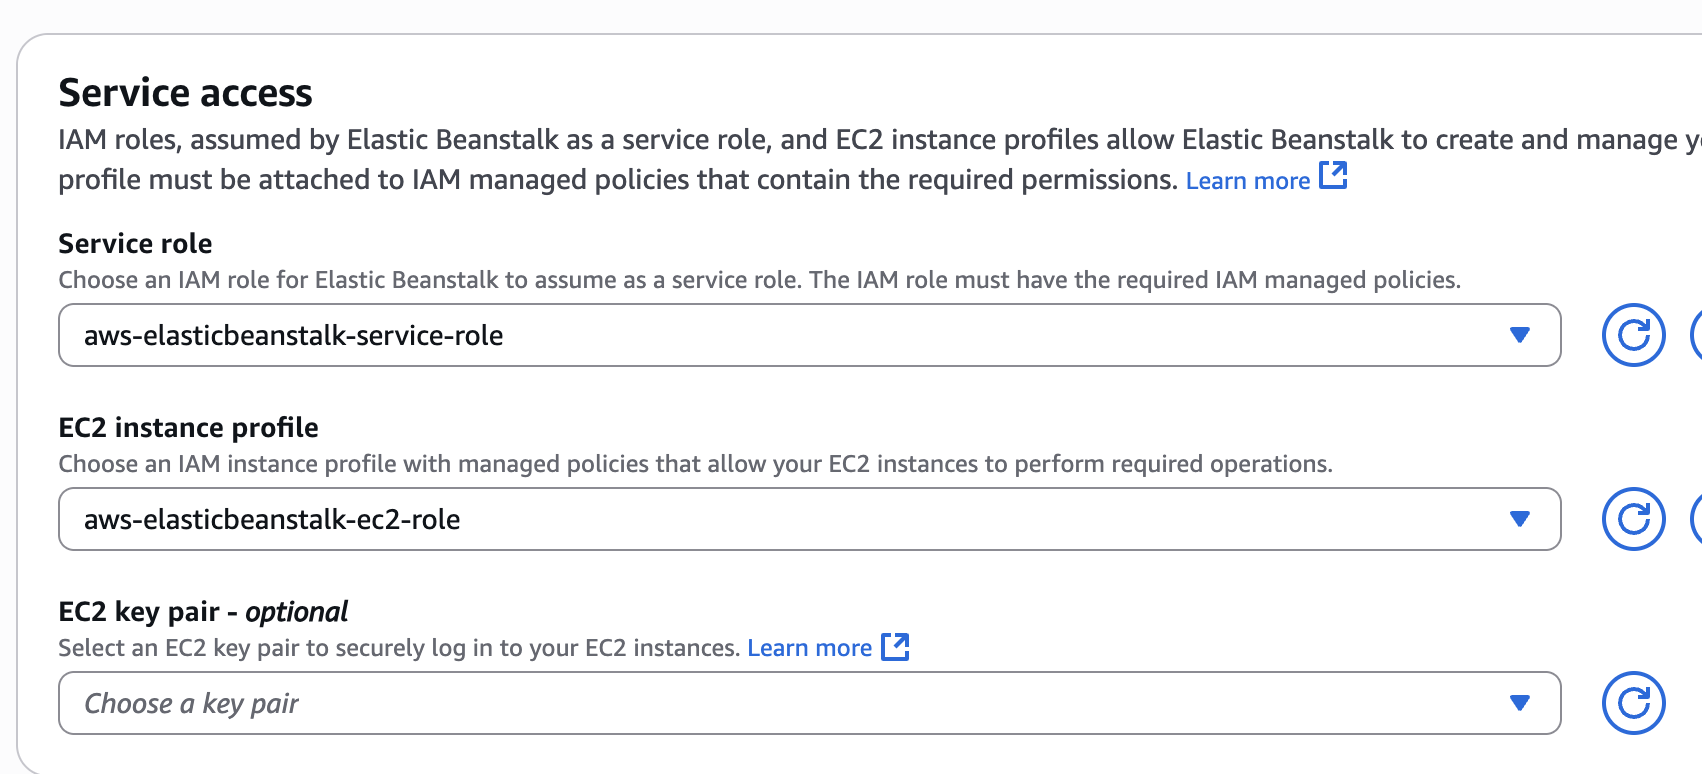
9. Click the Skip to Review button.
10. Click the Submit button and wait for your new Elastic Beanstalk application and environment to be created and launched.
After you have created an Elastic Beanstalk environment, you will need to modify the S3 bucket.
1. Go to AWS Management Console
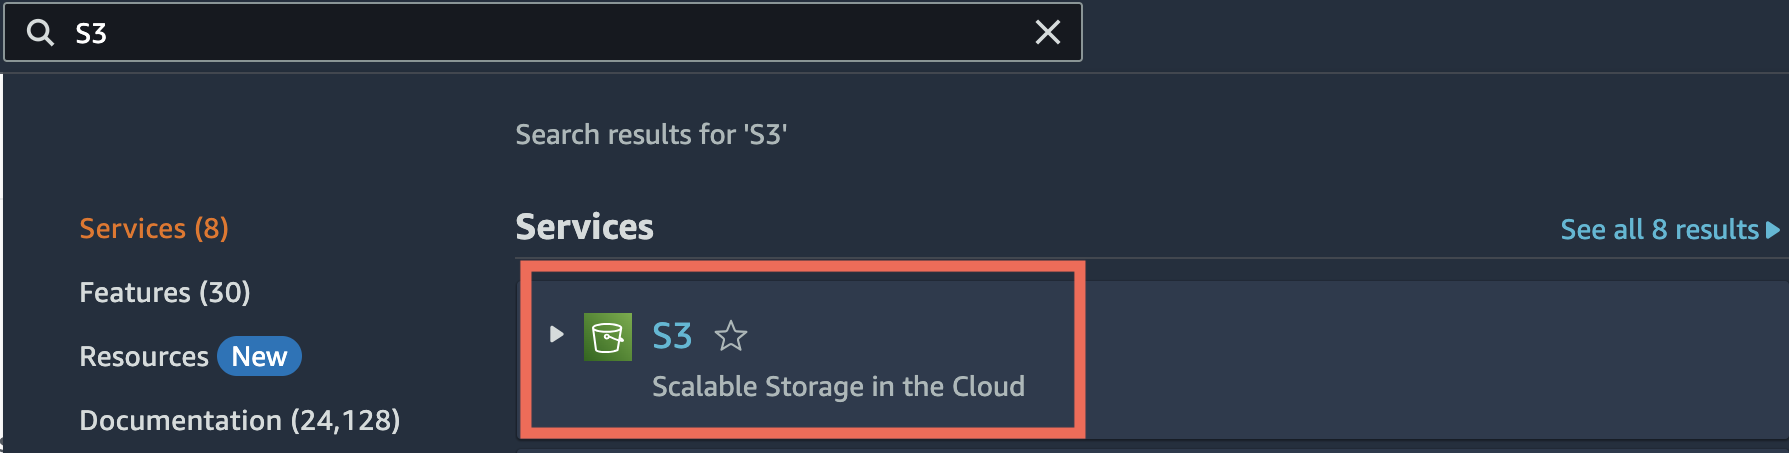
2. Search for S3 and click the S3 service.
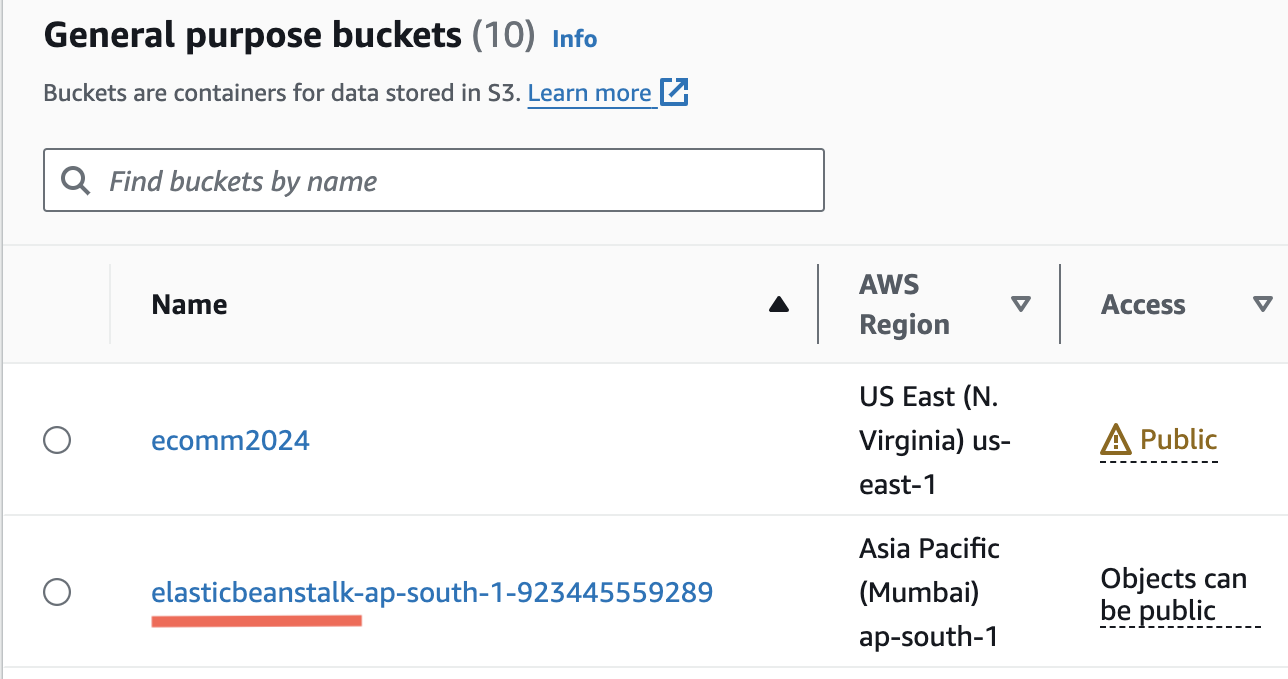
3. Find and click the elasticbeanstalk bucket that was automatically created with your environment (Your bucket region will likely be different)
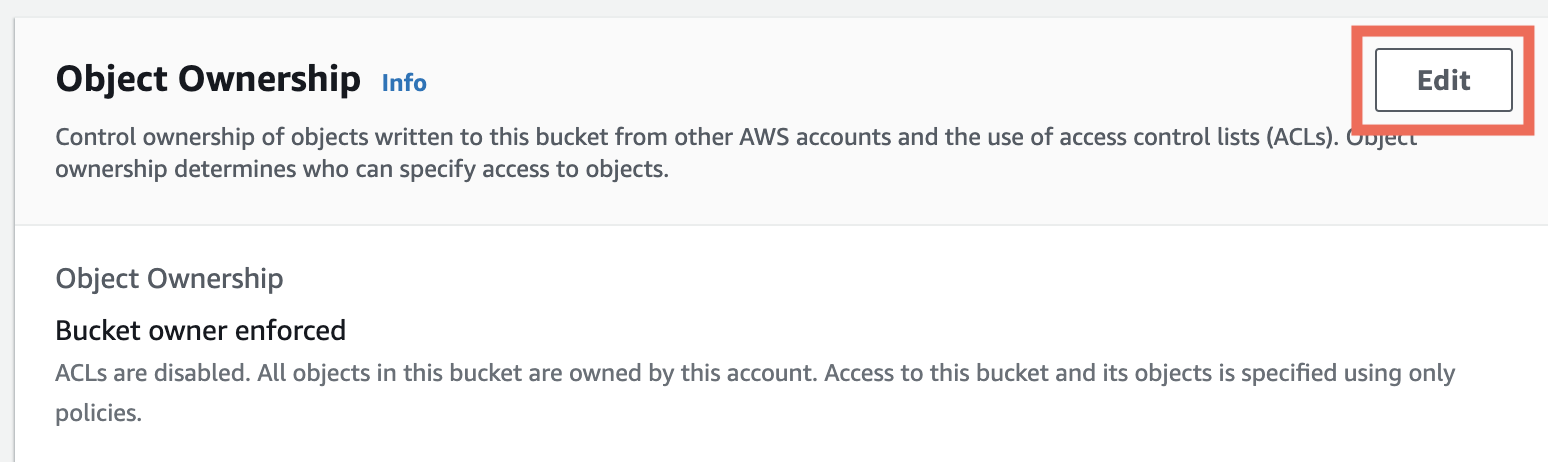
4. Click Permissions menu tab

5. Find Object Ownership and click Edit
6. Change from ACLs disabled to ACLs enabled. Change Bucket owner Preferred to Object Writer. Check the box acknowledging the warning:
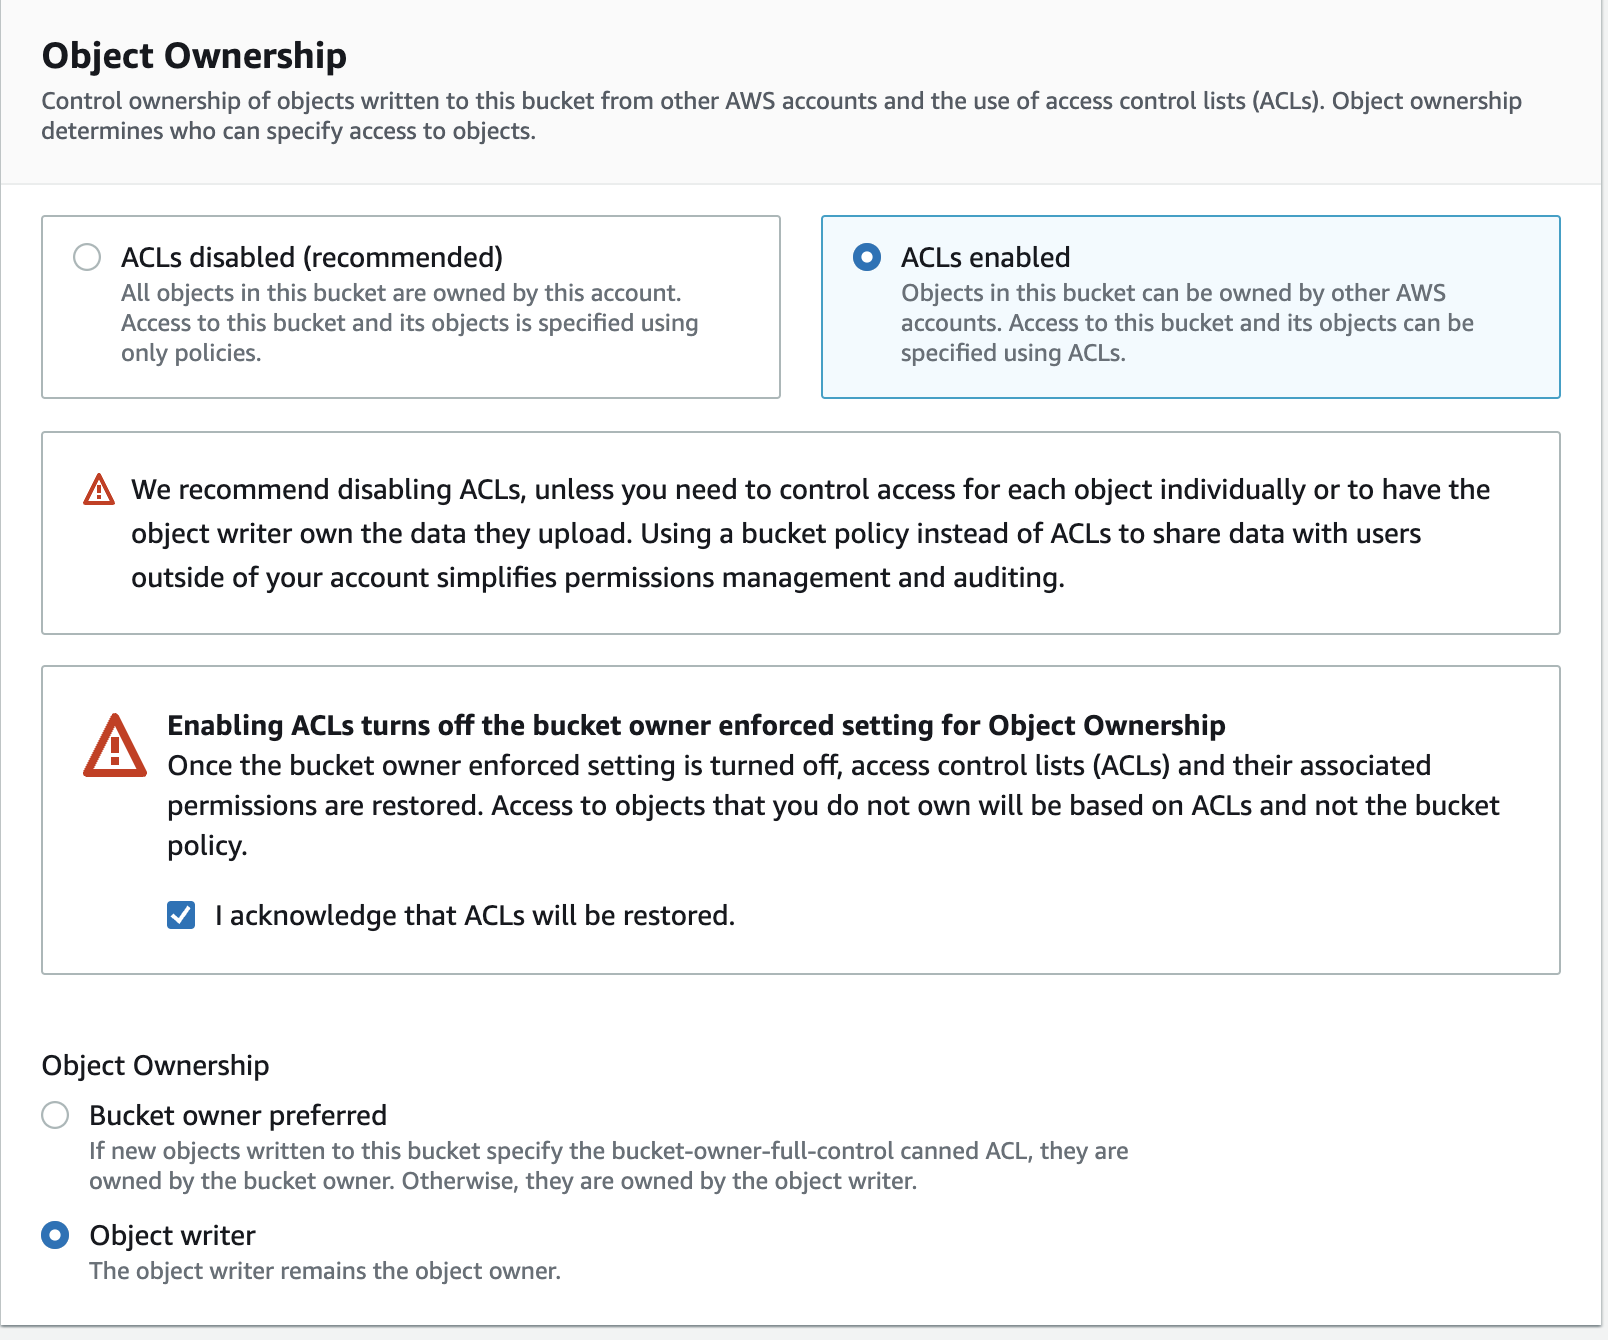
7. Click Save changes.
This new Amazon Linux platforms will conflict with the project we have built since it will look for a docker.compose.yml file to build from by default instead of a Dockerfile.
To resolve this, please do the following:
1. Rename the development Compose config file
Rename the docker-compose.yml file to docker-compose-dev.yml. Going forward you will need to pass a flag to specify which compose file you want to build and run from: docker-compose -f docker-compose-dev.yml updocker-compose -f docker-compose-dev.yml up --builddocker-compose -f docker-compose-dev.yml down
IMPORTANT - A cheat sheet has been provided that includes all updated setup and configuration steps needed from beginning to end here: