Register for a DockerHub account
Visit the link below to register for a DockerHub account (this is free)
Download and install all pending Windows OS updates
Run the WSL install script
Note - If you have previously enabled WSL and installed a distribution you may skip to step #7
Open PowerShell as Administrator and run: wsl --installThis will enable and install all required features as well as install Ubuntu.
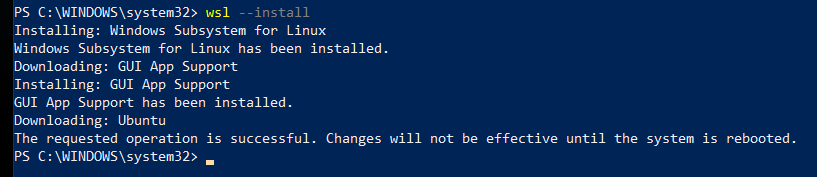
Official documentation:
https://docs.microsoft.com/en-us/windows/wsl/install#install-wsl-command
Reboot your computer
Set a Username and Password in Ubuntu
After the reboot, Windows will auto-launch your new Ubuntu OS and prompt you to set a username and password.

Manually Installing a Distribution
If for some reason Windows did not prompt you to create a distribution or you simply would like to create a new one, you can do so by running the following command:wsl --install -d Ubuntu
Install Docker Desktop
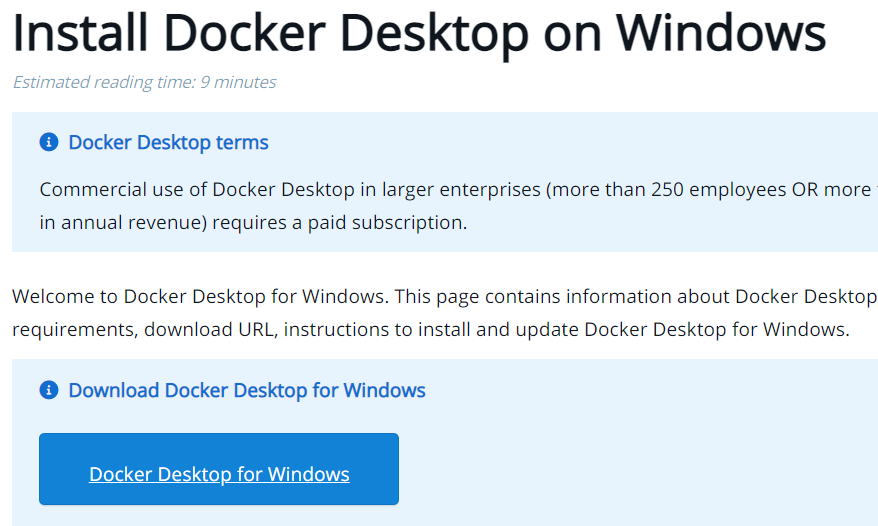
Navigate to the Docker Desktop installation page and click the Docker Desktop for Windows button:
https://docs.docker.com/desktop/install/windows-install/
Double-click the Docker Desktop Installer from your Downloads folder
Click "Install anyway" if warned the app isn't Microsoft-verified
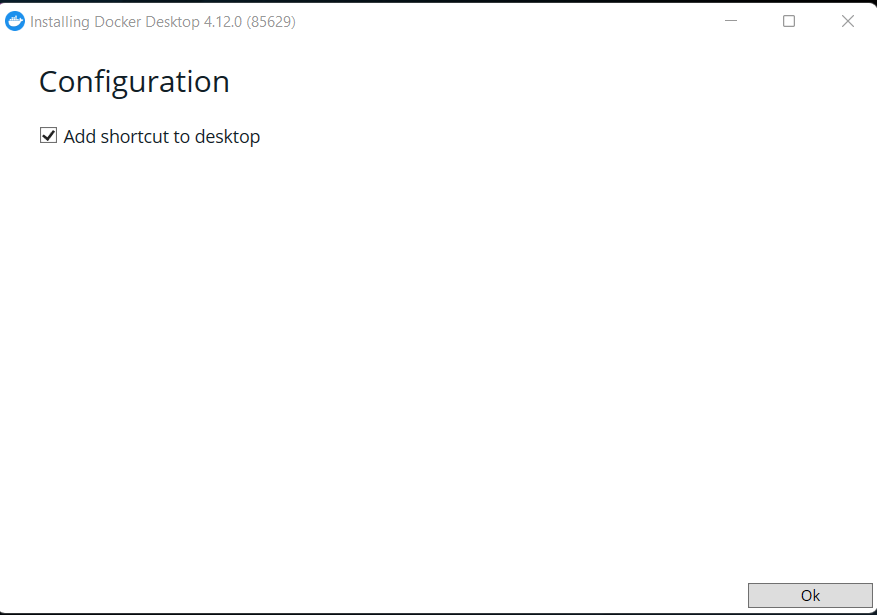
Click "OK" to Add a shortcut to the Desktop
Click "Close" when you see Installation succeeded message

Double-click the Docker Desktop icon on your Desktop
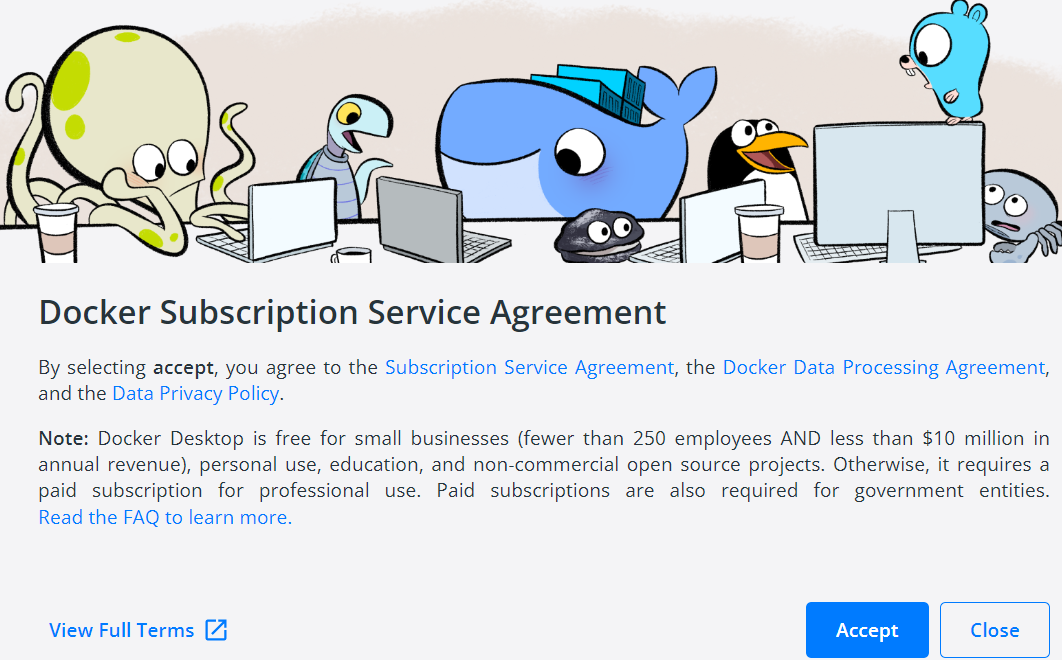
Accept the Docker Service Agreement
Docker Desktop will launch for the first time
Docker Desktop will launch and present you with a tutorial. You are free to skip this.

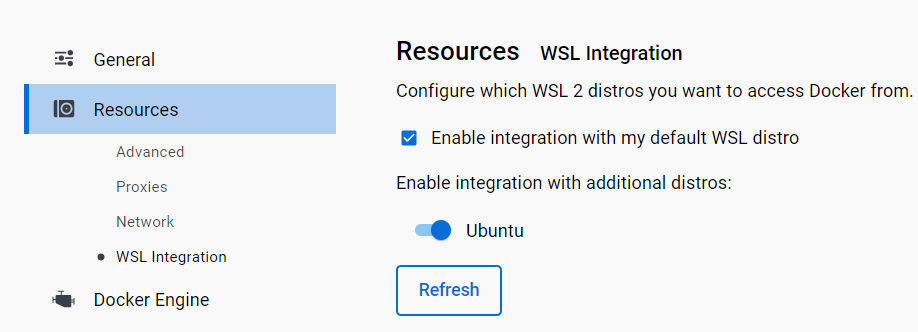
Ensure that WSL Integration is Enabled
In Docker Desktop, click the Settings Gear icon. Then choose Resources, and finally WSL Integration. Make sure that the Enable Integration with my default WSL distro is checked. Also, if you are using multiple distributions, make sure that these additional distros are toggled on:
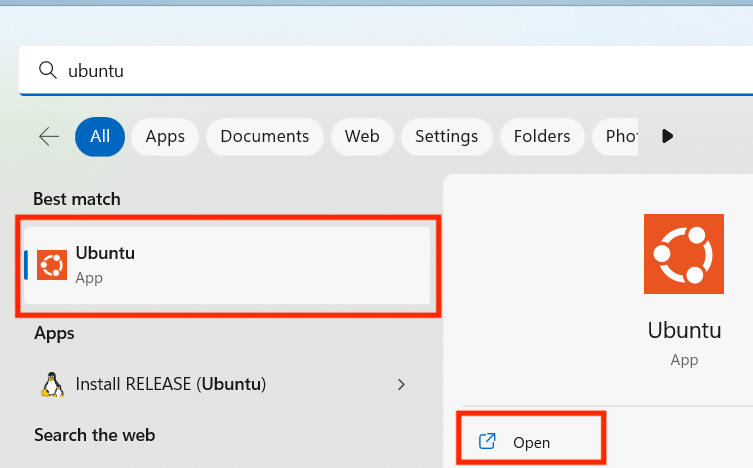
Open your Distro
Using the Windows Search feature in the toolbar, type the name of your distribution (by default it is Ubuntu) and click Open:
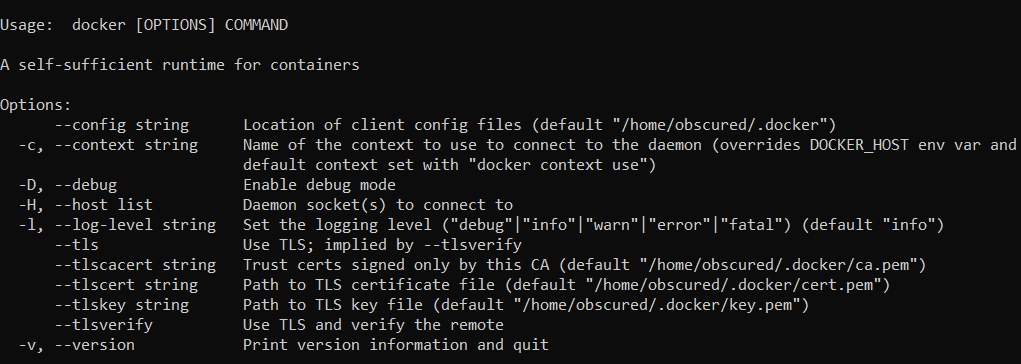
Check that Docker is working
Using the terminal for your distro, run the docker command. If all is well you should see some helpful instructions in the output similar to below:
Log in to Docker
Using the terminal for your distro, run the docker login command. You will be prompted to enter the username and password (or your Personal Access Token) you created earlier when registering for a DockerHub account. Once you see Login Succeeded, the setup is complete and you are free to continue to the next lecture.