Register for a DockerHub account
Visit the link below to register for a DockerHub account (this is free)
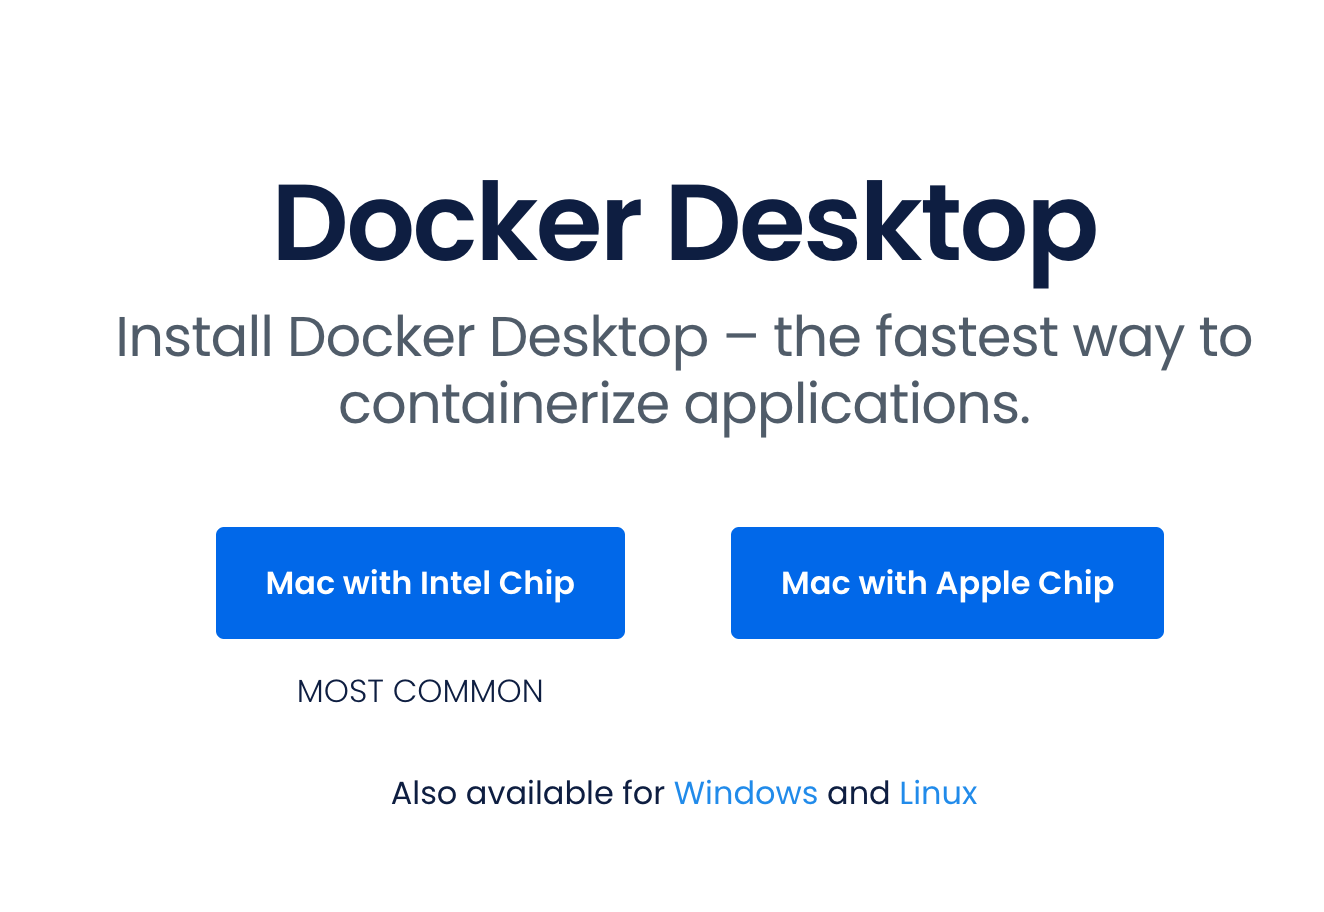
Navigate to the Docker Desktop installation page
Select your Chip
Click the button that corresponds with the chip of your computer. If you have an M1 or M2 machine, you will need to click the Mac with Apple Chip button. Everyone else will need to click the Mac with Intel Chip button.
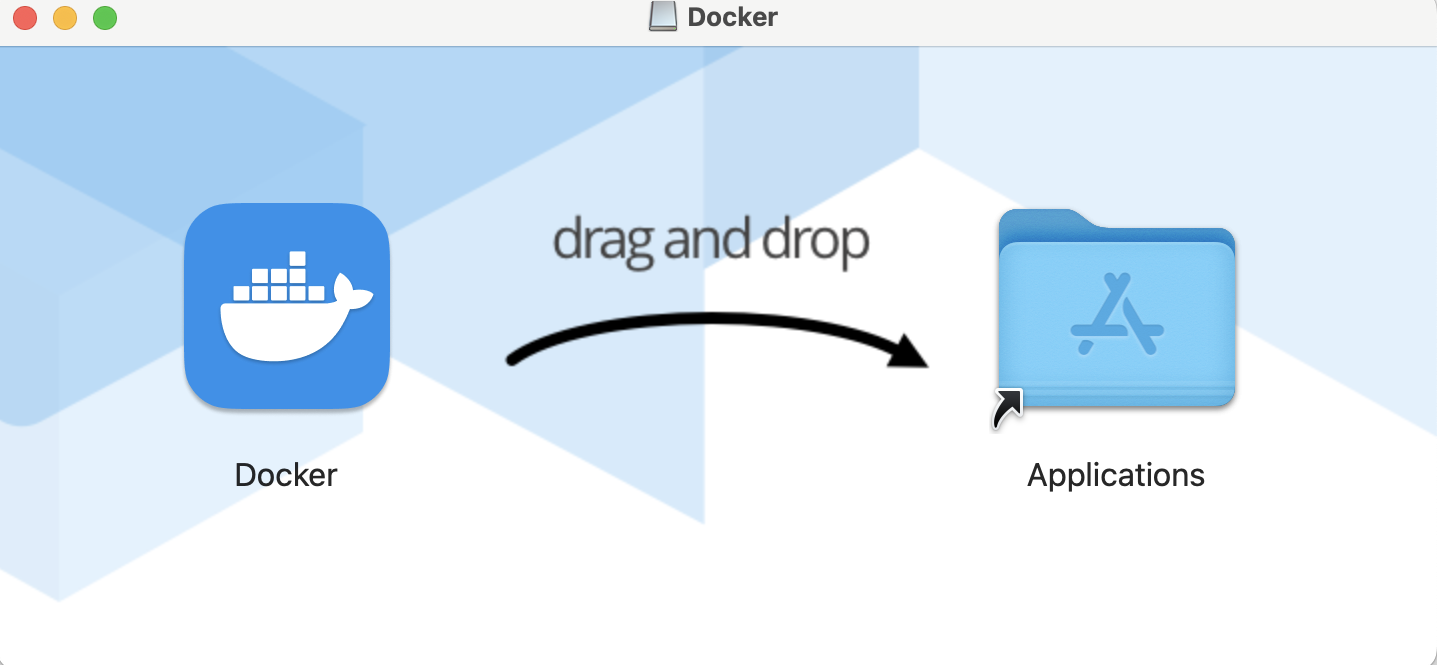
Double-click the Docker.dmg file in your Downloads
Drag and drop the Docker icon to the Applications folder
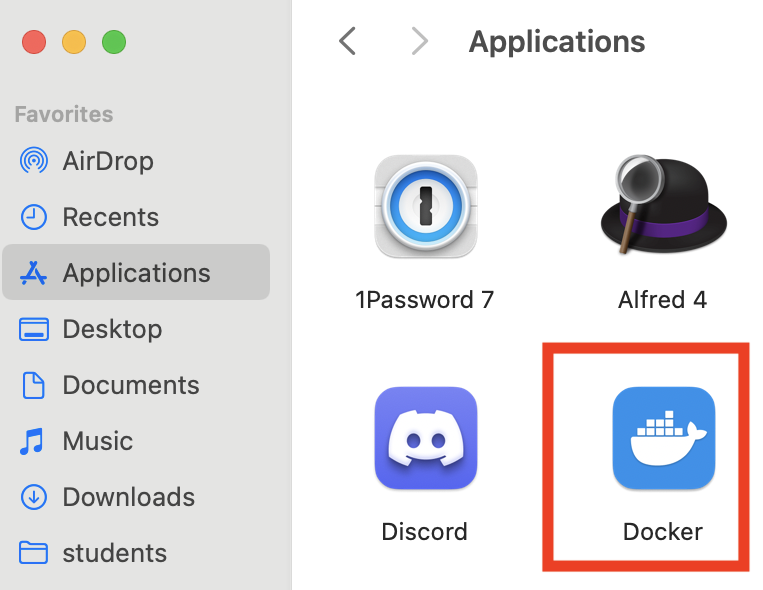
Go to Applications and double-click click the Docker icon:
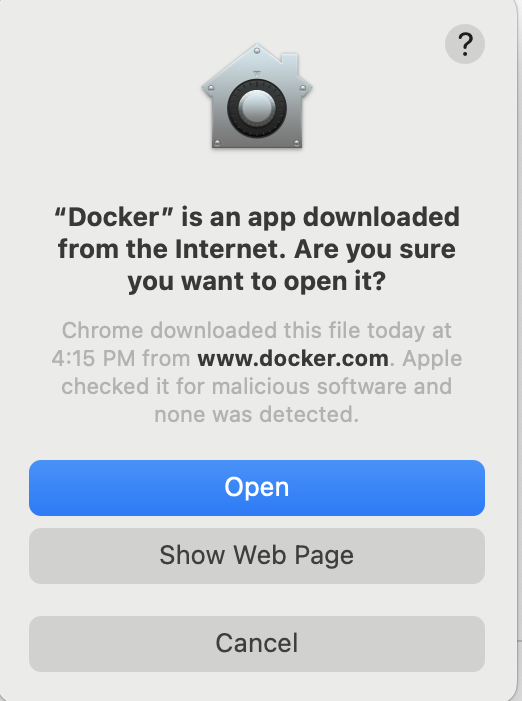
Select "Open" in the "Are you Sure you want to open it" prompt
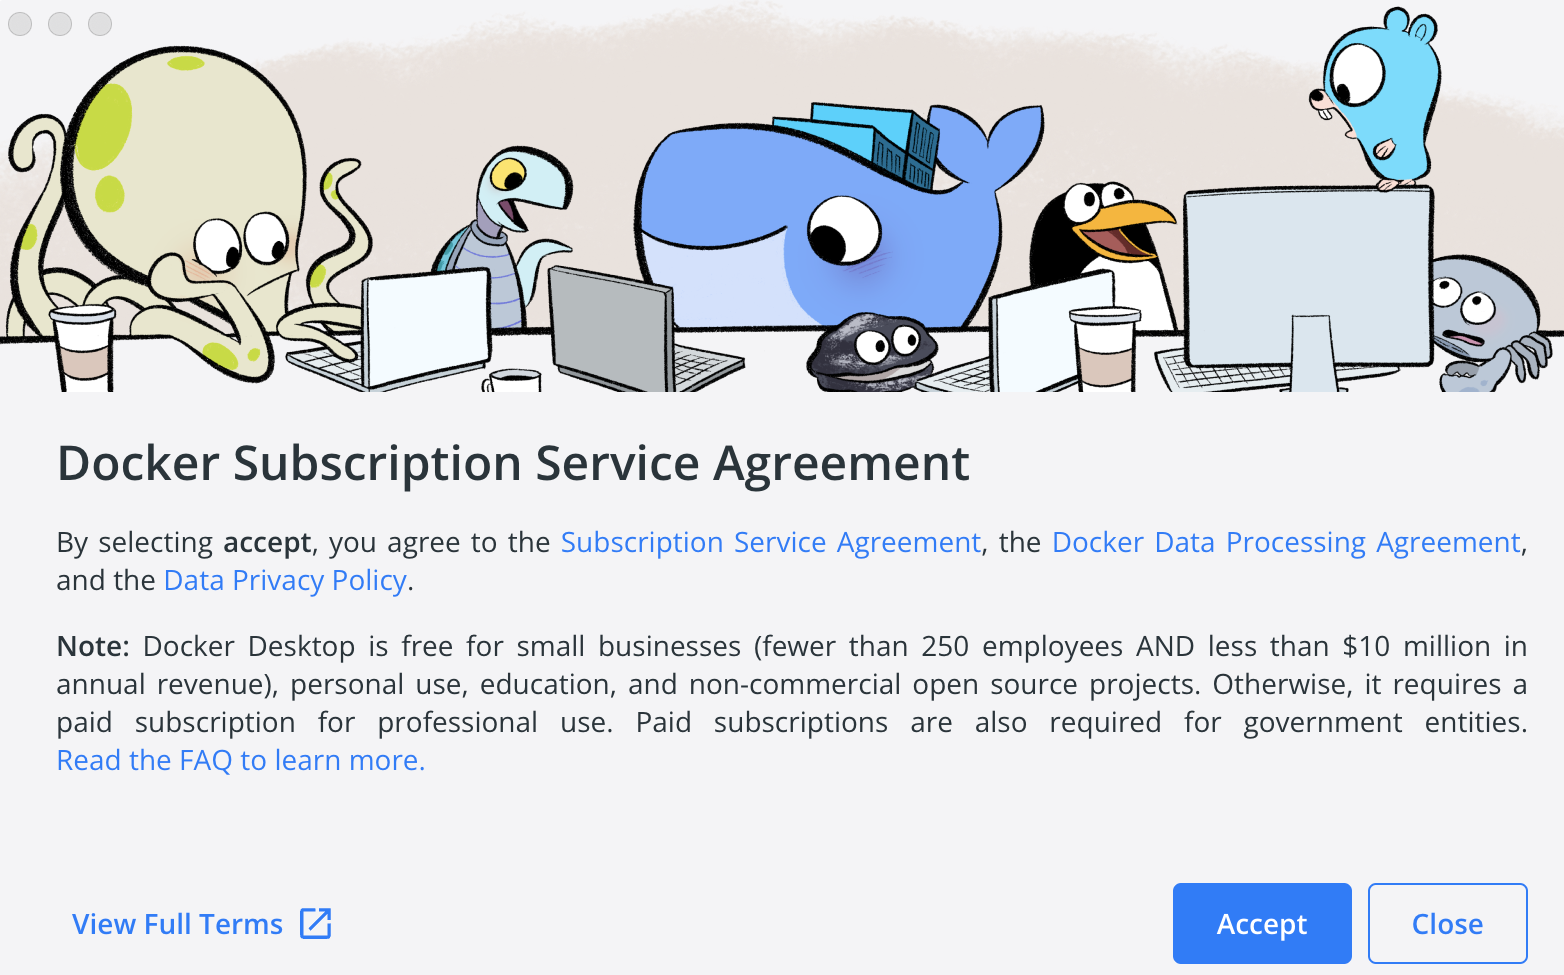
Click "Accept" to the Service Agreement
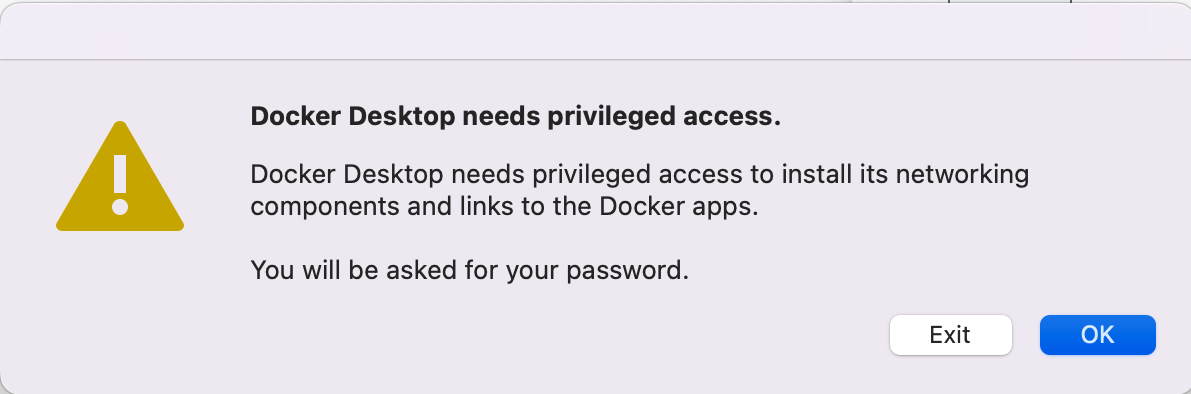
Click "OK" to "Docker Desktop needs privileged access" prompt
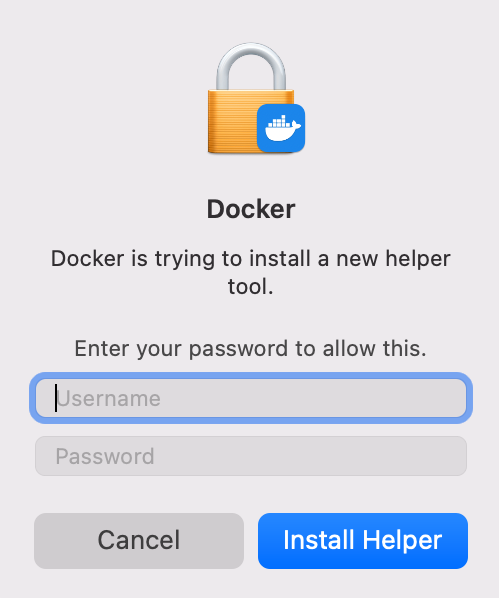
Enter your computer's username and password to install the helper
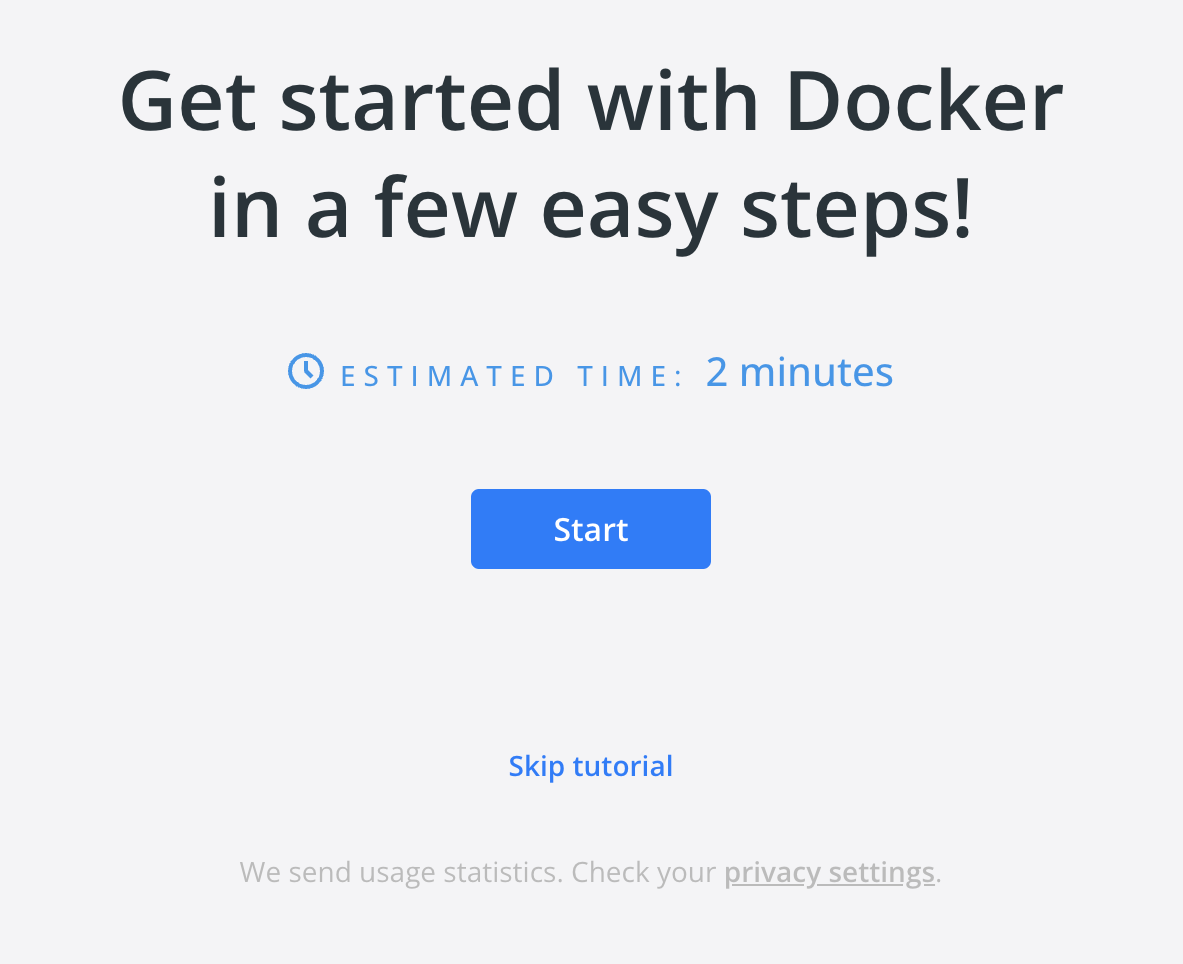
Docker Desktop will launch for the first time
If the installation was successful, Docker Desktop will launch and present you with a tutorial. You are free to skip this.
Check that Docker is working
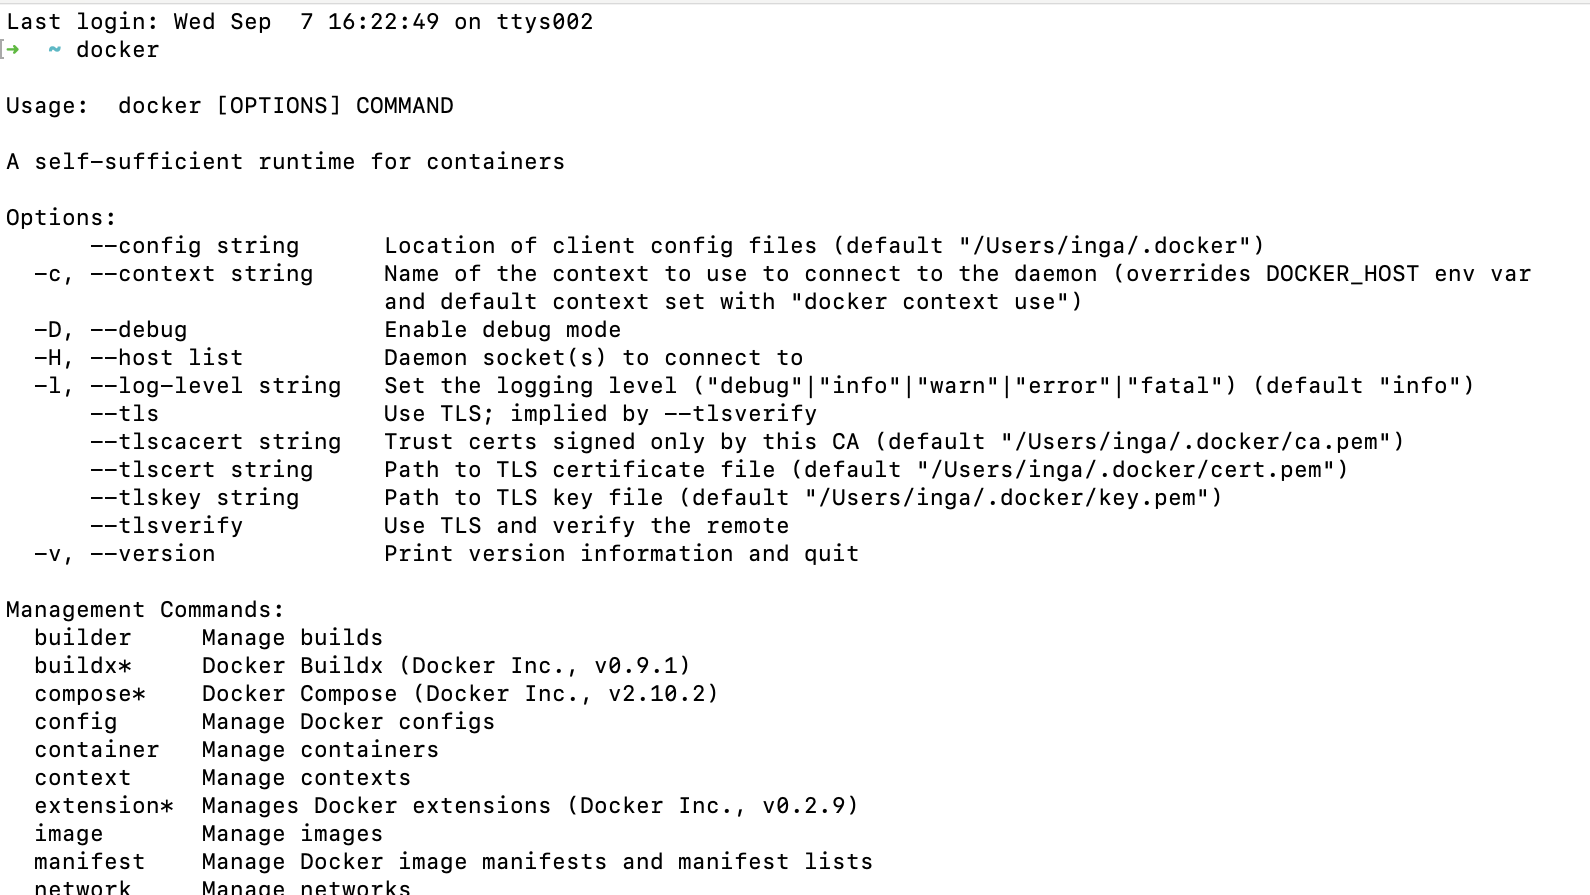
Open your Terminal application and run the docker command. If all is well you should see some helpful instructions in the output similar to below.
Log in to Docker
Using your Terminal Application run the docker login command. You will be prompted to enter the Username and password (or your Personal Access Token) you created in step #1 when registering for a DockerHub account.

Once you see Login Succeeded, the setup is complete and you are free to continue to the next lecture.